Hits: 87
Add cool effects to your photos with this easy-to-learn techniques
Sometimes called the “zoom burst,” the zoom blur is a cool, creative photographic technique that adds an abstract, kinetic quality to your images. As its name suggests, the technique involves distorting your photos and manually creating a blurred, starburst-like effect that radiates outward in all directions from your subject.
Here’s how to do it.
STEP 1: Mount your camera on a tripod or set it on a solid, stable surface. This will help give you straight blurred lines.
STEP 2: Select Shutter Priority mode to set your shutter speed. Try starting with 1s and an ISO of 100, then extending the shutter speed one second at a time and/or adjusting the ISO as you go to see what yields the best results.
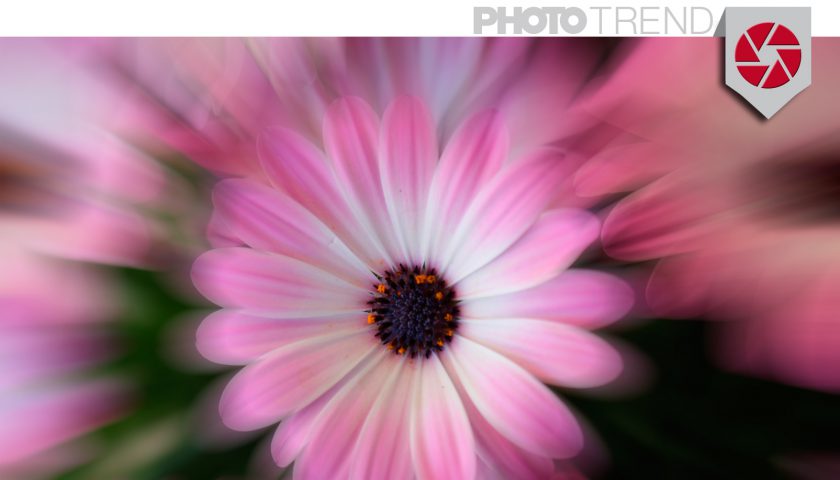
STEP 3: Zoom in on your subject all the way and set your focus. If your camera has a lock focus/lock exposure feature, use it. (If not, no problem!) Then, zoom all the way back out.
STEP 4: Press the shutter release and zoom in again as smoothly and at as consistent a speed as possible. Depending on the shutter speed you selected, you might have to zoom quickly (i.e., if you’ve set it for a short exposure) to finish before the shutter closes.
STEP 5: Check out your results and then make any necessary tweaks. The zoom blur works best in lower-light conditions, such as on a cloudy day or in a dimly lit space. If you’re trying this technique in bright light, simply adjust your aperture to a high setting (e.g., f/22), shorten your shutter speed or add an ND filter to cut the amount of light and avoid overexposed images.
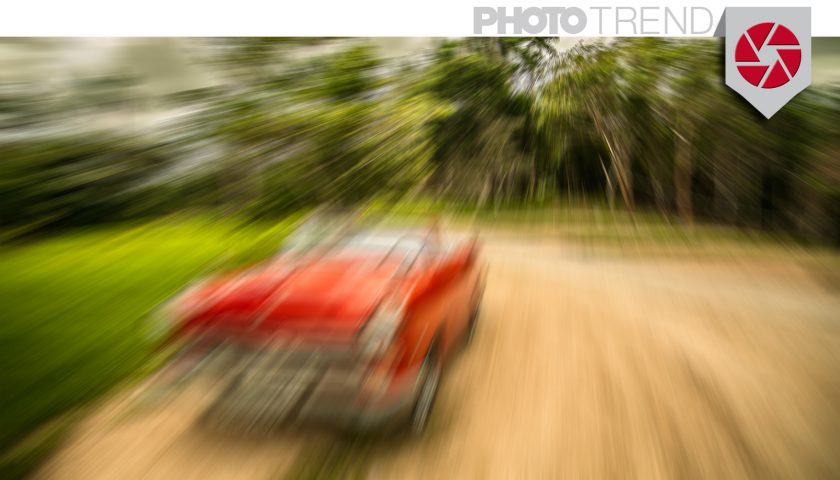
Mastered the basics? Add more flair by giving these variations a shot:
- Try zooming in at different speeds to change up the distortion.
- Try momentarily stopping, then resuming, the zoom to see what effect that creates .
- Try zooming out instead of in after you press the shutter release .
- Try rotating your camera as you zoom for a swirled-blur effect .

