Hits: 3
Some tips that can help you improve as a photographer
Have you arrived at a point where you wonder why your photos look more like simple snaps and not professional level masterpieces? There are a number of hints and tips we can pass on that can help you evolve as a photographer. Many of those tips cover shooting techniques, others may simply be advice about equipment and understanding a little more about your camera. You don‘t have to use them all but pick out a few that work for you, develop them and make them a part of your creative photographic process and they will stand you in good stead as you progress your skills.

1 Choose the right camera
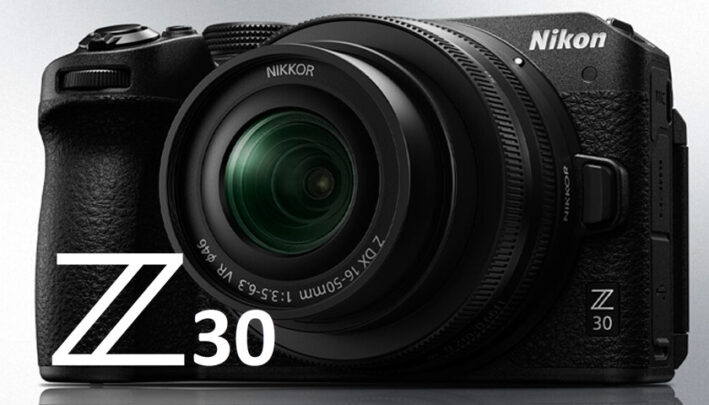
When you‘re looking to buy a new camera for your photography, make a list of your requirements and set yourself a budget. Don‘t forget to allow for accessories such as lenses, a tripod and cleaning kit if you need them. Don‘t fall in to the trap of thinking that a more expensive camera will make you a better photographer. You ‚re much more likely to improve your technique by overcoming the limitations of cheaper kit than by spending more money than you need to.

2 Choose the right lens
If you‘re buying a compact system camera or DSLR, it will probably come with a standard telephoto lens that is ideal for general photography and snapshots but there is a wide variety of special lenses available for other types of photography. If you like to shoot landscapes, get a good wide-zoom lens but avoid super-wide lenses as these will distort the image. If you want to shoot wildlife, you‘ll need a high quality fast telephoto but this will be expensive.

3 Buy a tripod
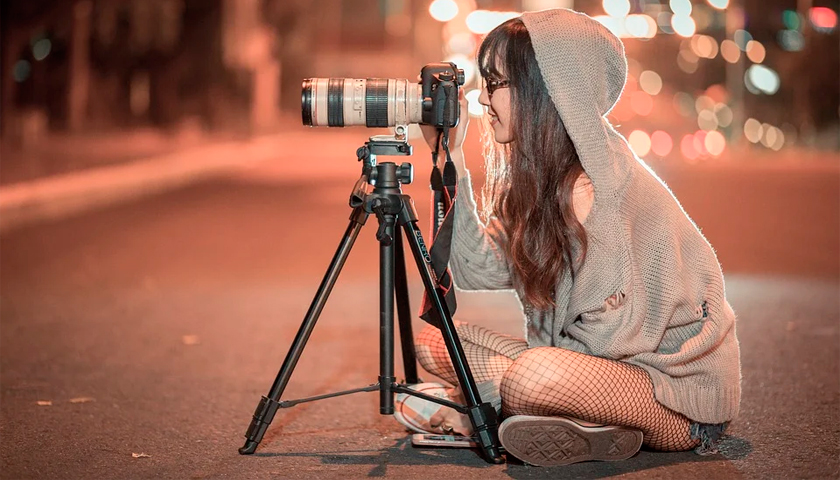
Improve your photography by investing in a decent tripod . For the best combination of strength, rigidity and portability, the ideal choice is carbon fibre. They start at around $175 (€ 165) and can cost ten times more, so if that‘s too expensive get a good quality aluminium one. Features to look for include a ratcheted centre column, portrait-format tilt and all-metal construction. Avoid ones with plastic heads, as they are seldom rigid enough to prevent camera shake on long exposures.

4 Early bird
Shooting a landscape in bright midday sun is fine but if you really want your shots to shine, you‘ll need to get up early and catch the light available just before the sun rises. The shadows are long, giving definition to objects and the light has that special golden ethereal quality. The same is true at the opposite end of the day, at sunset. The period of time around sunrise and sunset is called the golden hour. Simply switching the time you take photos can have a dramatic improvement on your shots.

5 Visual interest
The rule of thirds is a simple guide that can help the composition of your shots and make them much more visually appealing. When framing a shot, you have to imagine that what you can see through the viewfinder of your camera is divided into thirds both vertically and horizontally with lines, just like a noughts and crosses game. Placing your main subject on an intersection where these lines meet is a simple and quick way to improve composition.

6 Pick a prime
Fast glass has very large apertures, letting in more light and offering faster shutter speeds in low-light conditions. A good portrait lens that has a maximum aperture of f/2.8 – f/1.2 is fantastic at creating the background blur so sought after by photographers. The quality of defocused light this blurring produces is referred to as bokeh. The ability to shoot at f/1.2, for instance, means you can shoot more natural light portraits, without the reliance on strobes.

7 The holy trinity
ISO, aperture and shutter speed are the three pillars of exposure. The main idea is that altering one of these three settings has an impact on exposure and therefore how your image looks. One or both of the other settings will have to be altered to maintain a balanced exposure. As you develop as a photographer, you will realise that once you are in control, you can create images that look more as you want, rather than what the camera thinks is right when in full auto mode.

8 Stop the shakes
Camera shake is the unwanted movement of the camera during an exposure. Modern cameras offer image stabilisation and it can work well up to a point but the lower the light, the more the likelihood is that your shots will be blurry as you need longer shutter speeds to gather enough light for a balanced exposure. If you buy one thing to go with your new camera, make it a tripod. Use a robust tripod and your images will be rock steady in all manner of challenging shooting situations.

9 Depth cueing
A photograph only has two dimensions and any indication of depth in a photograph is purely optical. One of the simplest ways to add depth is to use leading lines like the curve of sand on a beach image or railway lines converging towards the horizon. Another method is atmospheric perspective where mist and fog shroud distant objects making them lighter and with less tonal contrast compared to darker foreground objects. This creates more depth in the image as darker foreground fades to lighter background.

10 Enhance your photos
If your camera has the option to let you shoot RAW images, use it. A RAW image is the key to much greater post-processing possibilities. RAW images, as the name suggests, are just unprocessed RAW data straight from the camera sensor with all the information you need to bring out a beautiful photograph. The act of cropping the shot into a more pleasing aspect ratio can save an image, as can turning it to black and white. The choices are endless, even if it‘s just contrast, saturation, brightness and sharpness.

11 Are you compensating?
As good as cameras are, they will often overexpose and underexpose your photos in challenging lighting situations. That‘s where exposure compensation comes in. It‘s a common setting found on digital cameras and it lets you override the camera by making the image lighter or darker based on how much positive or negative exposure compensation you dial in. A lot of cameras will let you preview the result on your LCD screen and once you are happy with how it looks, you can take the shot.

12 Don‘t fear the histogram
Available on many modern cameras, a histogram is a graphic representation of the tonal values in your shot and how they are distributed. If the graph is bunched at the far left, then your shot is very underexposed and you risk the loss of a lot of detail to shadow areas. If it is sliding off the right hand side, then it will be overexposed and detail will be lost in the highlight areas. A good exposure will have all the major tones in the middle of the histogram.

13 Learn from others
Even the best pros had to pick up a camera for the first time. There are any number of photography forums that you can join and then get advice from other photographers. Why not join a local photography club? It‘s a great way to meet fellow like-minded photographers of varying skill levels. It‘s is also a good way of getting motivated to get out and take more photos. You‘re also more likely to be able to chat with those who are well versed in using software to post-process their images.

14 Further afield
Find a lovely location that you want to photograph and get yourself out there. Plan to arrive before dawn and get some amazing shots of the golden hour. Explore the area and experiment with composition and camera settings. In fact, just go crazy and enjoy the experience. That‘s the key to photography. It‘s there to be enjoyed. Don‘t worry about making mistakes; keep those shots and review them when you get home and figure out why they didn‘t work, it‘s all part of the process.

15 Out of the shadows
While a bright summer day may seem like the perfect time to take photos, at midday every scene will appear flat and featureless with shadows sitting directly beneath every object. The perfect weather for outdoor photography is a bright day with a few white clouds to help diffuse the light and take the edge off the shadows. The perfect time is around sunrise and sunset with long shadows defining the contours of the land.

16 Batteries
Your digital camera can‘t operate without power, so make sure you fully charge the battery before taking it out for the day. If you‘re going away for a holiday remember to take your battery charger and an adaptor for foreign mains sockets; and maybe consider investing in a spare battery or external battery pack in case you can‘t charge it for a while. There are also several devices available that can charge your battery using solar energy or from a hand cranked mini-generator.

17 A sense of perspective
An average human is viewing the world from their eye level of about 160 cm. Simply changing that viewing angle can radically alter the shot. As a simple rule of thumb, shoot from low down, shoot from high up. Getting above or below your subject alters how you present your subject and how they fit in the world that‘s around them. You can play with wide angle shots or telephoto shots. You have an amazing amount of choice. Anything to break away from the eye level world that we are used to.

18 Maximum exposure
For some extra creative clout, consider using longer exposures in your landscape shots. Photographers often employ exposures that last seconds or even tens of seconds, to show clouds streaking across the sky rather than looking static and puffy. Scenes shot with a much longer exposure will turn the water to a misty, milky fog. It is safe to say that your tripod is the key to the success of these shots.

19 Lock it up
For extra tripod stability, a lot of photographers hang their camera bags underneath the head of the tripod to act as a counterweight, helping to immobilise the tripod. In addition, even the movement of your camera‘s mirror flipping up and down with each shot can create vibrations that affect a shot‘s sharpness. If you set your camera for mirror lock-up, it will flip the mirror out of the way long before the shutter opens to take the shot, giving time for any vibrations to cease.

20 Filter systems
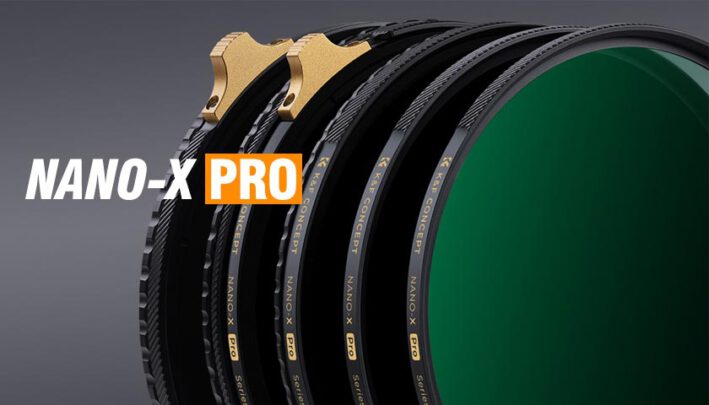
Think about investing in some filters. A circular polariser is very useful. It can boost the contrast in blue skies and is very useful for reducing or even eliminating reflections in water; just be aware that polarisers work best when the sun is at 90° to you. If you are shooting a scene where there is a large difference in the tonal values between your land and a bright sky, an ND grad will help stop those skies from burning out.

21 There‘s an app for that
There are apps available that can tell you where the sun will be at any point on any given day. These apps can overlay information on a map of your given destination, showing where the sun will rise and fall and where it will track through the sky on whichever day you choose. This is great for working out what time is best for you to shoot in the location you are researching. Sunseeker for iOS and Sun Surveyor for Android are two great examples of these types of app.

22 Take control
If you are relatively new to DSLR photography, you may still be using your camera‘s auto or semi-auto functions where it will decide on the best settings to use in either Shutter Priority or Aperture Priority. As long as it is in auto, it will keep making decisions for you and you will end up with shots that don‘t match your expectations. In manual mode you can decide on how the scene is exposed. Make the creative decisions; don‘t leave it to your camera.

23 Stay sharp
Photographers will want their scene to be as sharp as possible from front to back. This is where depth of field comes into play. At large apertures such as f/2.8, the area of sharp focus in front and behind the point offocus will be relatively small. Using a much smaller aperture such as fill that „zone“ of sharp focus is much greater. As a rough guide, focus on a point about one third of the distance into your scene to give yourself the best chance of maximising the depth of field available.

24 Persistence pays off
The great outdoors is unpredictable to say the least. The weather has a habit of doing exactly the opposite of what you want, when you least want it to. This can be a big turn off for many new to photography. Don‘t let below par weather put you off. Sometimes you have to be brave and get out there and be prepared to sit and wait. You could be rewarded by a break in the weather that reveals some sublime lighting that makes it all worthwhile.


[…] can be extremely useful in certain photographic situations (particularly if you’re not carrying ND filters with you!) and allows you to capture shots that wouldn’t be possible with one exposure. Care needs […]