Hits: 62
To get the best out of your digital images with Adobe Lightroom, you should always shoot in Raw Mode.
We assume that you are familiar with digital photography, so you’re probably already aware that the vast majority of digital images are stored in a file format known as JPEG. Nearly all digital cameras and mobile phones record their images as JPEG files. You can spot a JPEG file because it will usually have the filename extension .jpg or .jpeg. The JPEG format has been around since 1992, when the standard was first specified by the Joint Photographic Experts Group (after which it takes its name), a standing committee of imaging and software industry experts. There have been various attempts to update or replace the JPEG format over the years but it is now so entrenched in the digital world that it will likely be with us forever.
What is JPEG
The JPEG format is great for digital images that are shared or published via the Internet or stored on digital media, because it is a compressed file format. File compression is a way of shrinking file sizes by removing redundant information and encoding the rest in a more efficient way. For digital images this means that a photograph that is maybe 35 megabytes as it comes off the camera sensor can be compressed down to a fraction of that size without losing too much image quality. This obviously means that you can store a lot more images on your memory card or hard drive and view your friends’ photos on Facebook without using up your entire data allowance at once.
Whilst a slight loss of image quality, as a trade-Off for more efficient storage, is not a problem for the majority of users, professional photographers want the best images possible and so any loss of quality is unacceptable. For this reason, most high-end cameras have an option to store photos in an uncompressed format usually known as Raw mode.
Advantages of Raw Mode
A full explanation of JPEG compression would take up much more space than we have available in this guide and you really don’t need to know most of it. For our purposes, the major difference between JPEG and Raw mode is the amount of information used to describe each pixel in the image. In JPEG mode each pixel is described by 24 bits. that is 24 ones and zeros. 8 for each colour channel of red, green and blue. This 8-bit encoding allows 256 gradations of brightness per colour channel, meaning that it can display 256 x 256 x 256 or 16.777.216 different shades of colour. That might sound like a lot but if you look at a JPEG image of a clear blue sky you may still see lines between the different tones of blue rather than a smooth gradation of colour.
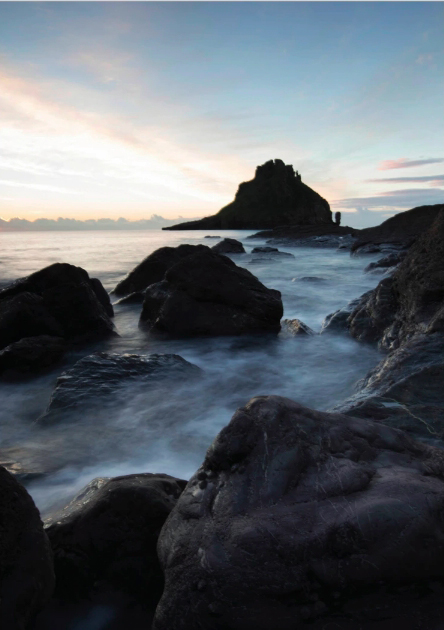
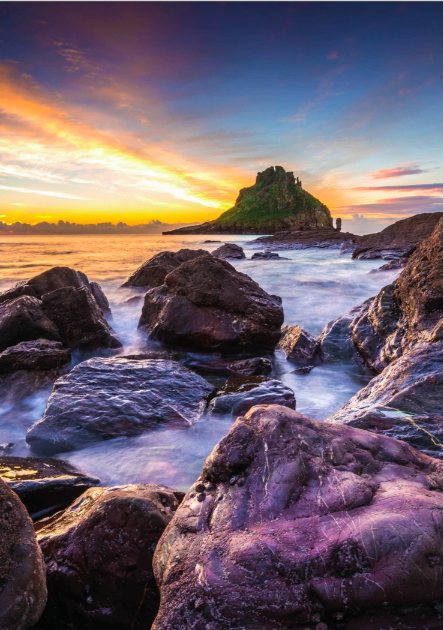
In uncompressed Raw mode, each pixel is usually described by 12 or even 14 bits per channel, giving 36 or 42 bits per pixel. This might not sound like a big difference but whilst a 12-bit Raw file can describe 68 billion shades, a 14-bit file can describe four trillion. This means that not only will your colours look smoother and more lifelike, much more shadow and highlight detail can also be recorded, giving your pictures much more dynamic range. This means that when you’re processing a Raw mode shot you can pull out much more detail from shadows and highlights. See the sample photos shown here to see the difference.
Disadvantages of Raw Mode
For day-to-day use there aren’t many disadvantages to shooting in Raw mode. High capacity memory cards and multiterabyte hard disks are now so cheap that storage capacity really isn’t a problem and if you want to send a photo via email or share it online it’s very simple to convert a Raw file into a more manageable JPEG. The only real disadvantage is that there is very little standardisation of Raw file types between different camera manufacturers and all of them have their own proprietary formats.
This means that when you buy a new camera you may find that Lightroom or Adobe Camera Raw won’t be able to open or process the images until a compatibility update is released, which can sometimes take several weeks. One way around this is to use the Adobe DNG Raw format, which is an open-source Raw file format that is available on some cameras, notably Pentax DSLRs and some other high-end cameras, All Adobe software can handle this format by default.
Raw or RAW?
Most books,magazines, websites and even camera menu screens refer to Raw mode all in capital letters: RAW. There’s really no reason for this as it’s not an acronym and just means that you’re recording the Raw uncompressed information from the camera’s primary image processor. As far as we’ve been able to determine, the practice of writing it in caps started with a Canon press release circa 1998 and was carried on by other PR departments and camera journaIists who didn’t know any better.

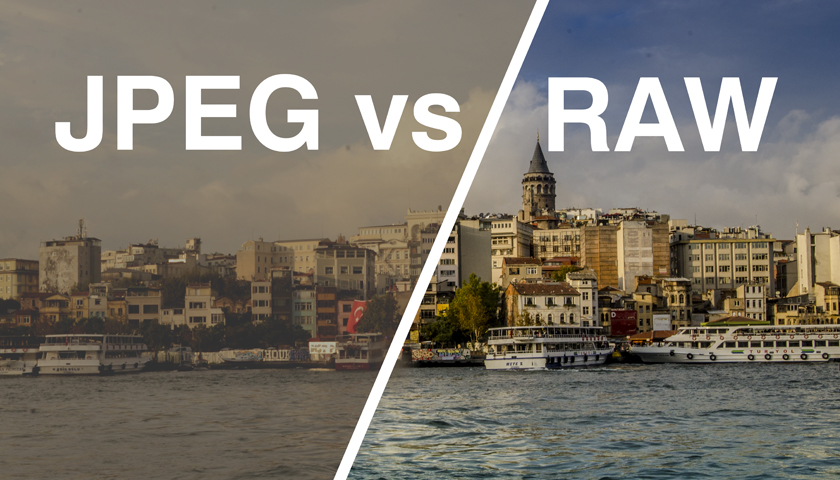
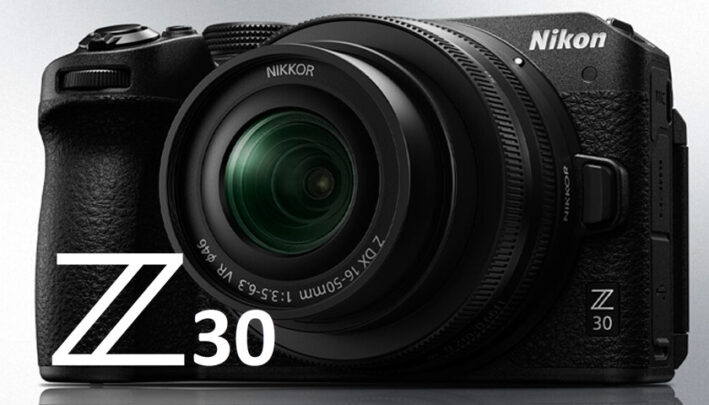

[…] 24.2 megapixels, with the ability to shoot up to 96 megapixel composite images in JPEG or RAW format. Of course auto focus – and the improvement and refinement of – is another battleground […]
[…] NX Studio, Nikon now offers free RAW development software that is specially tailored to Nikon’s raw data format (.nef). As in the […]
[…] RAW files require processing before they can be edited in Photoshop. Camera RAW is Photoshop’s RAW processor. It allows you to set white balance, crop photos, enhance colors, make tonal changes and powerful local adjustments. As such, it’s invaluable for many essential editing tasks. By contrast, the main Photoshop editor gives you more depth in terms of working with layers, creating special effects, compositing and more. But for photographers who mainly prefer to make simple enhancements, the tools in Camera RAW can be all you need. […]