Hits: 24
Step by step shoot with a Variable ND filter. Variable ND filters can help you capture dramatic landscapes by enabling you to extend shutter speeds during the day.
If you want to shoot long exposure landscapes you need a set of ND filters of different strengths that screw on to the end of your lens, or slot into a holder, right? The problem with those is that you have to carry around a pouch of filters for use in different lighting conditions, plus a holder for the slot-in variety- but you can eliminate the need for all that by carrying a single variable ND filter in your kit bag.
To adjust the strength of a variable ND filter you rotate its front element to increase its light-blocking power. The optical quality of these filters generally isn‘t quite as good as that of fixed-strength filters, but they‘re good enough for most situations and here we‘ll show you how to use one to enable a long shutter speed for blurring moving water and clouds.
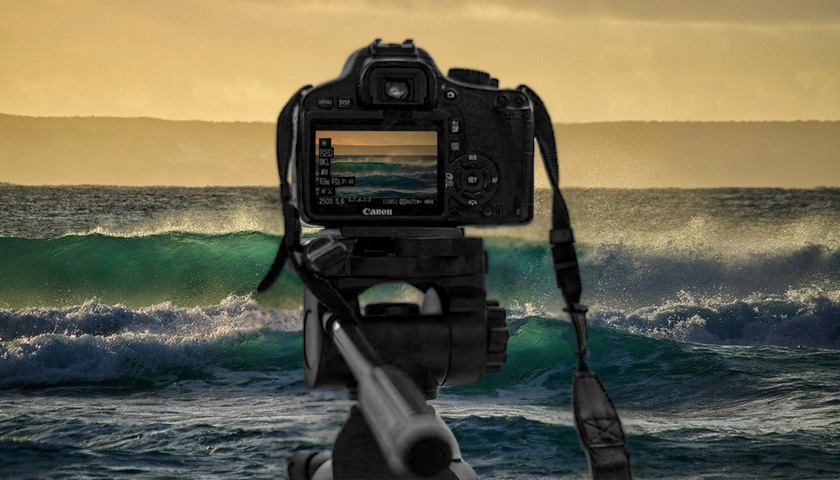
1 TRIPOD
Place your camera on a tripod and if you‘re using a longer lens, as we are. mount the tripod footplate to the lens collar – by doing so you‘ll find the balance point for the camera and lens combination, so they‘ll be unlikely to tilt forwards or backwards.
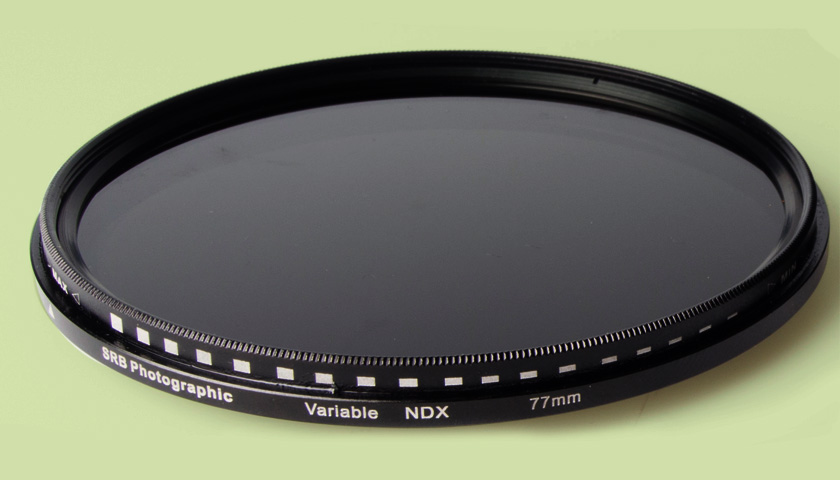
2 VARIABLE ND FILTER
Screw on your variable neutral density filter (we‘re using an SRB Photographic ND fader filter) and make sure it‘s tight. You can then rotate the front of the filter to increase or decrease its density. to let more or less light in through the lens.
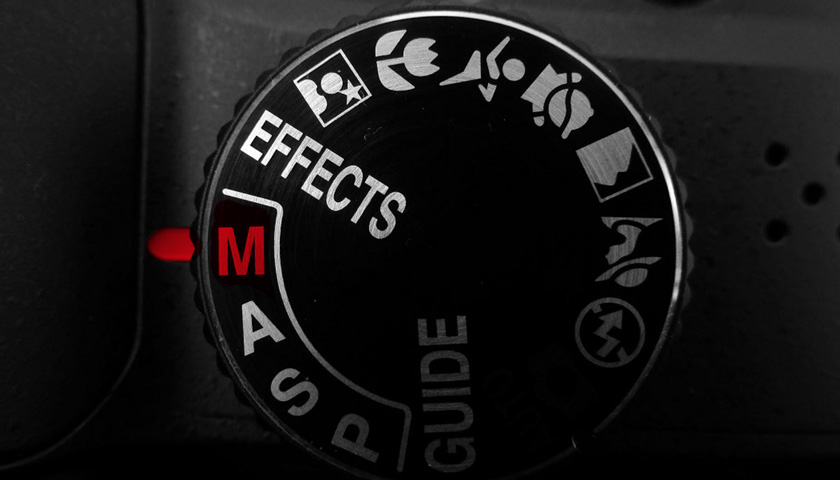
3 MANUAL MODE
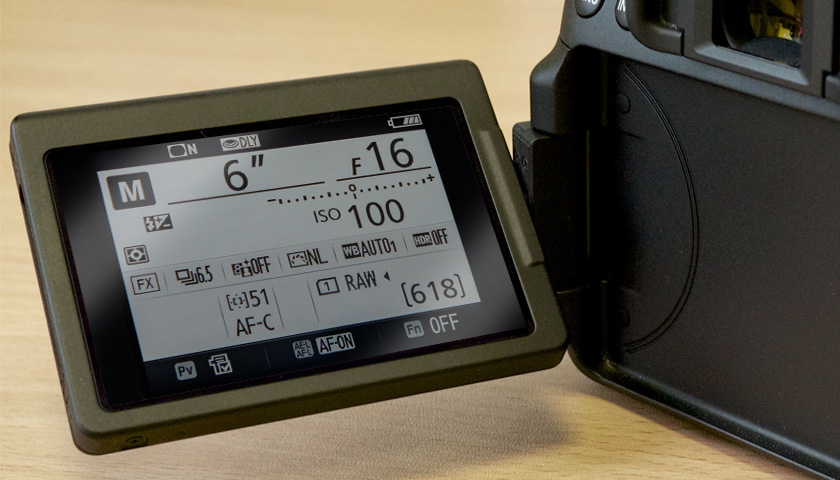
In manual mode, set a narrow aperture of f/16 to maximize your depth of field, and dial in ISO 100 to reduce noise for optimum image quality: a lower ISO will also allow you to use a slower shutter speed, enabling you to blur clouds and water more effectively.
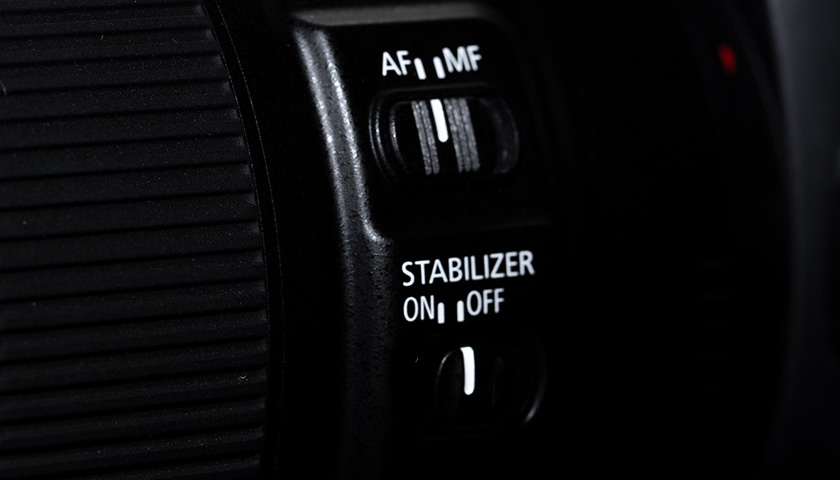
4 TURN STABILISATION OFF
When your camera is on a tripod it should be completely steady. Stabilisation systems are designed to compensate for shake when you’re shooting handheld and can introduce vibration when the camera is still, so turn stabilisation off when shooting long exposures on a tripod.
5 TURN THE FILTER
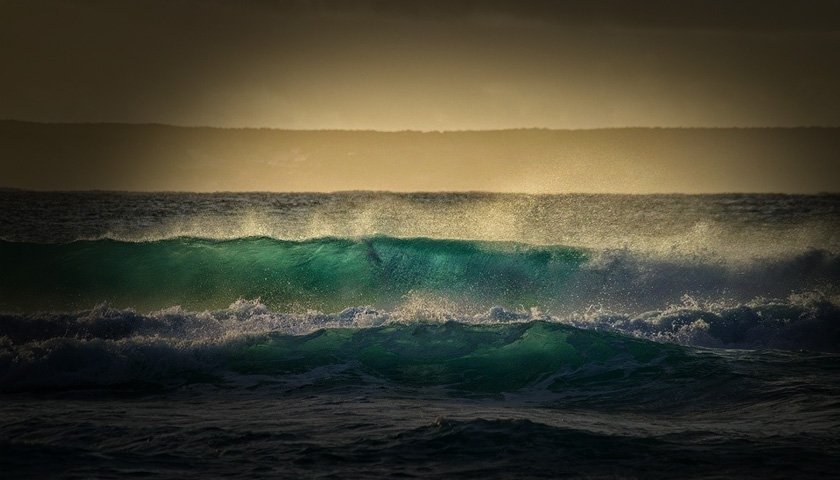
Adjust the filter until you reach maximum density, but watch out for the effect becoming uneven: variable NDs behave like two polarisers placed face-to-face, and can create cross-shaped artefacts at extreme settings, as shown here. If this happens, dial the filter back a touch.
6 SLOW THE SHUTTER
With the filter set to the required density, engage Live View and increase your shutter speed until the light meter reads 0. For us this was six seconds at f/16 and ISO100 – your shutter speed will depend on how bright it is on the day.
7 EXPOSURE DELAY MODE
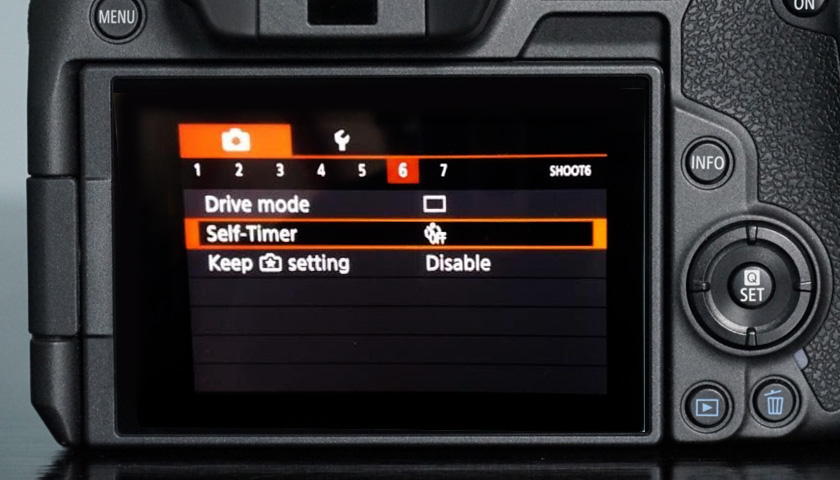
Before you take the shot engage your camera‘s exposure delay mode, if it has one, to reduce camera shake. If your camera doesn‘t have this option you can use the self-timer. or a remote release. so that you don‘t need to touch the camera in order to fire the shutter.

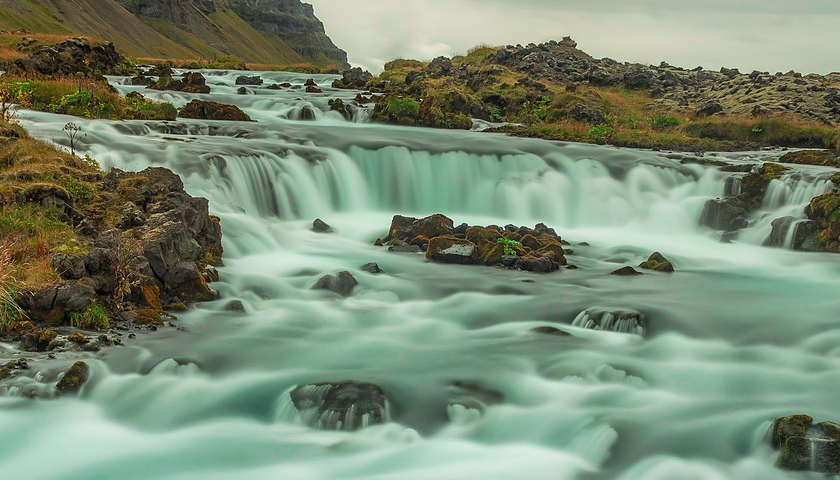
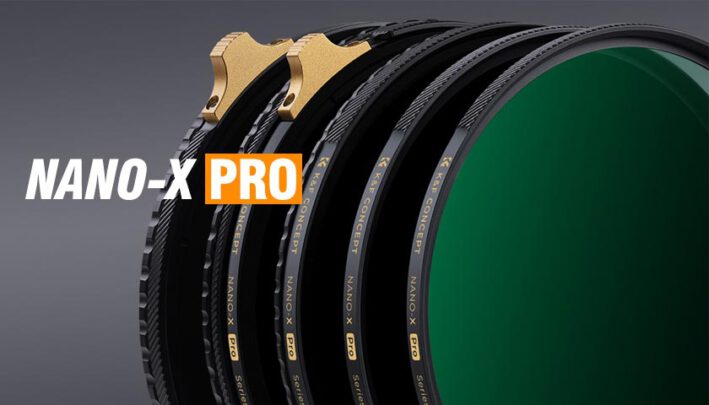


[…] neutral so as not create a colour cast. The darker the filter the longer your exposures can be. ND filters can range from a 2-stop filter to 10-stops of light reduction. They are excellent for use in daytime […]
[…] A minimal depth of field makes skin with large pores appear softer. It can be achieved with a very small aperture such as f / 2, which only unfolds its full effect with camera sensors from APS-C size. The focus is on the eyes, but the protruding cheeks and even more the nose are already outside the depth of field. If there is a risk of overexposure, you have to block strong sun with an ND filter […]