Hits: 4
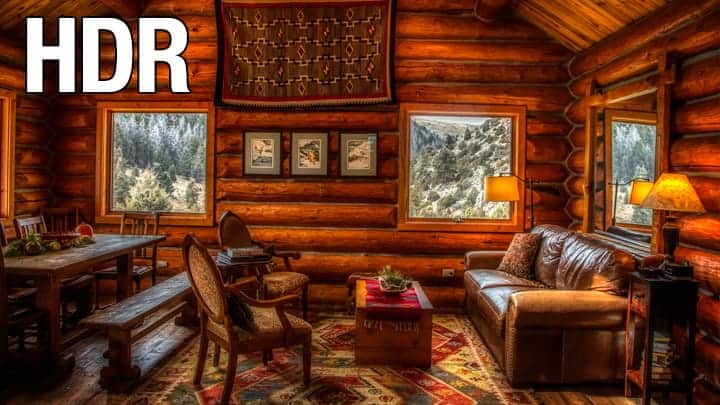
HDR allows photographers to combine images, allowing you to bring out the full dynamic range of an image from shadows to highlights. It’s useful in a number of situations but tends to have a ‘love it or loathe it’ reaction tied to it – images can look overly surreal and unrealistic. This is fine if you’re going for a deliberate fantastical look to your images but care needs to be taken if you want natural looking shots. In this article we’ll look at how to create HDR images and the technical skills you will need.
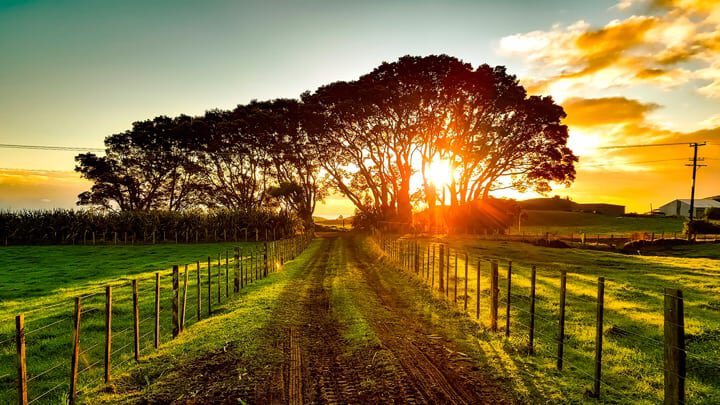
WHAT IS HDR?
High Dynamic Range (HDR) Photography is a post production technique whereby multiple exposures of the same scene are combined into one image. The idea is that the final image will give you a shot that is correctly exposed throughout the highlights, mid-tones and shadows.
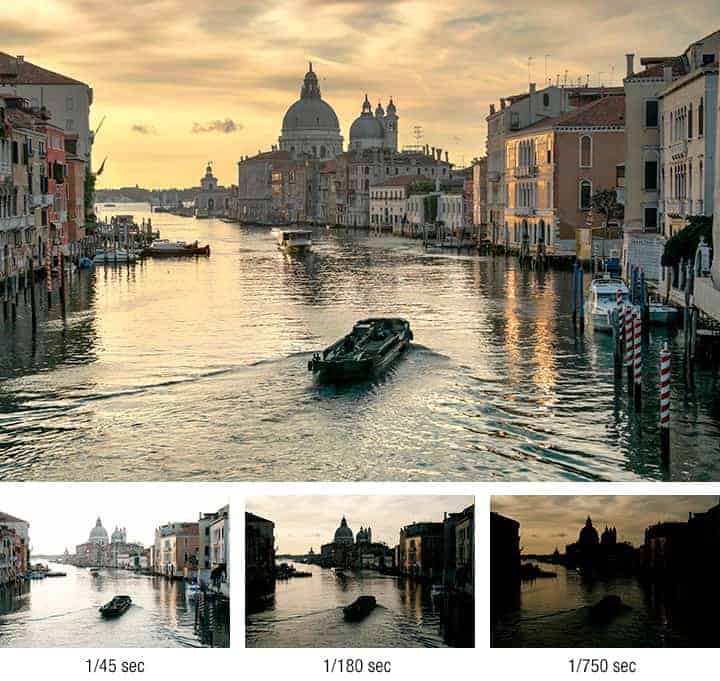
In most cases, you will need at least three images to create a HDR shot in order to have one shot that meters for the highlights, another that meters for the mid-tones and a third shot to meter for the shadows. You can use as many images as you want, as long as the number is divisible by three.
WHEN AND WHY WOULD YOU USE HDR?
There are some particular shooting situations where HDR photography can come in very handy. It can be extremely useful for interior photography, where it’s important that a room is correctly exposed from top to bottom. It’s also used frequently for landscape shots on sunny days and at the Golden Hour (around sunrise and sunset).
Why is this? Well, on a cloudy day the sky acts as a giant softbox and diffuses harsh sunlight. This, in turn, reduces the contrast between shadows and highlights. But on a sunny day with no clouds the hard, direct light produces strong black shadows. Similarly, the Golden Hour leaves you with a foreground that’s much darker than the sky.
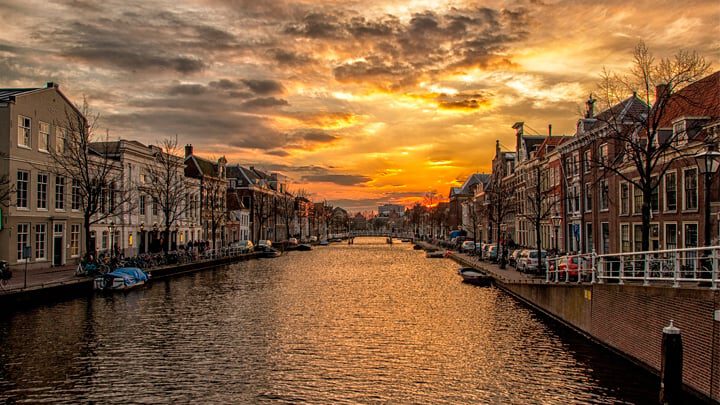
It‘s impossible to capture the whole dynamic range in one photograph. Depending on your exposure you are either going to end up with a perfect sky but a solid black or shadow-filled foreground or a well exposed foreground with washed out sky. This is where HDR photography can come into its own.
This is not to say that modern digital cameras don’t have an incredible dynamic range – most can cope with 12-stops or more. But these vastly different lighting situations in one image are just too much for a camera to capture in one shot!
EQUIPMENT AND CAMERA SETTINGS
You don’t need a lot of equipment to shoot images for HDR photography but you will need a tripod so that all your shots are identical.
Because of the style of photos you’ll be taking, you will most probably be using a wide angle lens. If it’s a zoom lens, make sure that you keep it on exactly the same focal length throughout your shooting.
Some cameras have a built-in HDR mode, but it will only allow you to shoot in JPEG. I don’t recommend using this as it is far better to shoot in RAW and give yourself flexibility in post production.
Make sure you keep your aperture the same between the shots so that you have a consistent depth of field running through the images (for landscapes / interiors this is likely to be a large depth of field to make sure your whole image is sharp).
Set your camera metering to evaluative (which is the default for most cameras) so that your camera will take an overall average meter reading for the whole scene.
Now, use your camera’s bracketing function and shoot in 2 EV steps if you are doing three brackets or 1 EV steps for five (for example -2, -1, 0, +1, +2). If you want to take more than five photos you need to start with your camera at 0 EV and note the suggested shutter speed.
Set the shutter speed to the most underexposed image you need (for example 4 EV). Now change the shutter speed in steps of 1 EV (double the shutter speed) after each photo, continuing the sequence until you reach the brightest image you need.
SHOOTING MULTIPLE EXPOSURES
You will need to shoot your chosen number of images but remember that you don’t always need to have exactly the same number of under and overexposed images. For example, when you’re shooting a sunset you will probably want to have more underexposed images that bring out all the details in the sky.
Shoot frames as quickly as possible in bursts. You need to watch out for wind – it will move clouds, trees, grass etc and you want minimal motion as it can be difficult to fix. Use a tripod to keep shots completely steady and a remote shutter release to avoid camera shake.
If you don’t have a remote shutter release use the self-timer on your camera
HDR PHOTOGRAPHY SOFTWARE
Both Photoshop and Lightroom have a ‘Photo Merge’ option which will combine your images into one single HDR photograph. Photo Merge is fairly simple but does give you the option to auto-align your images.
It also allows you to Deghost your shots. What is deghosting? However careful you are, you will get a small degree of movement between shots (usually in the clouds). The deghosting function allows you get rid of any patches created by movement.
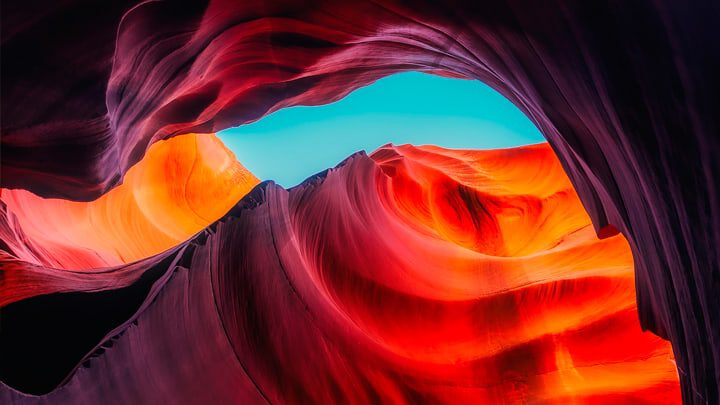
If you decide you would like to go further with HDR photography the best software to use is called Photomatix. This gives you far more options and presets and there are lots of different methods for creating your HDR image.
COMMON ISSUES TO WATCH OUT FOR
As I mentioned right at the start of this article, HDR images can look unrealistic and over-processed. This is usually down to a few common issues which I’ll mention here so you can avoid them!
Firstly, a key sign that an HDR image has been over-processed is halos (bright areas) around highly contrasted edges. This is usually a result of boosting contrast and clarity too far and really adds absolutely nothing to an image.
Conversely, people often go too far in the opposite direction by flattening the image. If you reduce the contrast between the light and bright areas in your photo to flatten the image you’ll be left with a very dull looking shot.
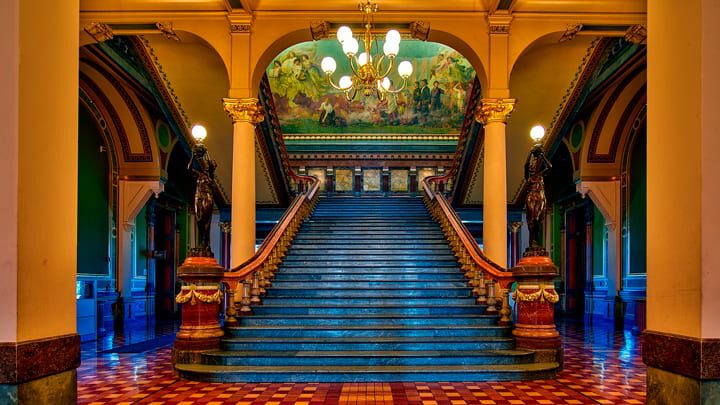
Contrast is absolutely key to a photograph. You need the differentiation between light and dark to keep a shot looking natural, because that’s what occurs naturally in nature. Without contrast an image will just look fake.
Finally, if you’ve got clouds in your landscape shots watch that they don’t go black or dark round the edges due to over-processing. Nothing looks more unrealistic than black clouds on an otherwise sunny day!
The key with HDR Photography is to aim to get a finished image that still looks natural and similar to what we can see with our eyes but can’t always capture with our cameras. Of course if you’re going for a fantastical look to your images, you might want to create a slightly unrealistic look but I personally think that HDR should be used sparingly!
CONCLUSION
HDR Photography can be extremely useful in certain photographic situations (particularly if you’re not carrying ND filters with you!) and allows you to capture shots that wouldn’t be possible with one exposure. Care needs to be taken to make sure that your images aren’t overprocessed but, with a bit of practice, HDR can be a really useful tool.

