Hits: 7
It may sound counterintuitive. Why would you want long exposures during the day? Daytime shooting means you have no shortage of light, shutter speeds are high and there is little chance of either motion blur or camera shake. Why would you deliberately want to choose slow shutter speeds? It is, for want of a better phrase, an artistic choice. We are very used to seeing images taken in the daytime that are sharp, free from camera shake or motion blur where everything is static and frozen in place.
What is a long exposure in daylight?
That‘s fine if it‘s what you are after but consider how the world changes when you shoot at night (apart from it being dark of course). Things are a little more surreal at night when shutter speeds drop to seconds or even minutes. Those longer exposure times mean that moving objects, be they clouds , the sea, cars or people take on a more other-worldly feel. Translating some of that feel to a daytime shot can be great fun and elevates the shot from a standard capture into a creative work that can be very engaging to the viewer.
So how do you take control daylight long exposure itself to achieve the shutter speeds required? You will need a couple of pieces of the right equipment. It goes without saying that first up is your camera and your favourite lens. For this kind of work a good setup would be a Nikon D800 or Canon 5D MK3 and either a 24-70 mm f/2.8 zoom or possibly a 14-24 mm f/2.8 wide angle lens.
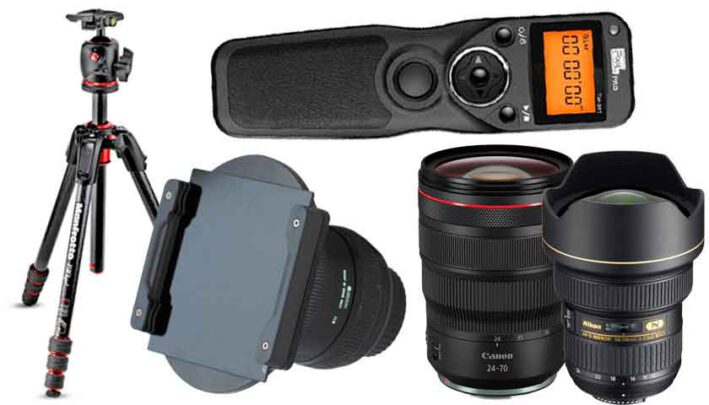
- A 24-70 mm lens above is a great all round piece of glass for most shooting conditions. If you find you need a greater field of view, then something in the 14-24 mm range below is what you‘ll need.
- Manufacturers like Lee and Cokin produce a range of rectangular filters and filter holders.
- Screw in lilters can be cheaper but you are restricted by having to buy ones that will fit the diameter of each lens you are using.
- A sturdy tripod is essential for long exposure photography to avoid any possible camera shake.
- A good cable release or one of the more exotic intervalometers is also a useful item to control your camera remotely when shooting longer exposures.
Because you are dealing with deliberately long exposures there is no question you are going to need a tripod. The shutter speeds you may encounter will require that you use a remote shutter release. Last, and certainly not least, is a neutral density filter. Without this bit of kit, the long exposures you require just can‘t happen.
A neutral density filter is almost like sunglasses for your camera lens by long exposure. It filters out a certain amount of light so you ‚see‘ the world darker than it really is. It is reducing the amount of light that is actually passing through the lens to your camera‘s sensor. It has also been likened to the glass in a welder‘s mask. In fact, in some cases, enterprising photographers have actually used welder‘s mask glass as an ND filter.
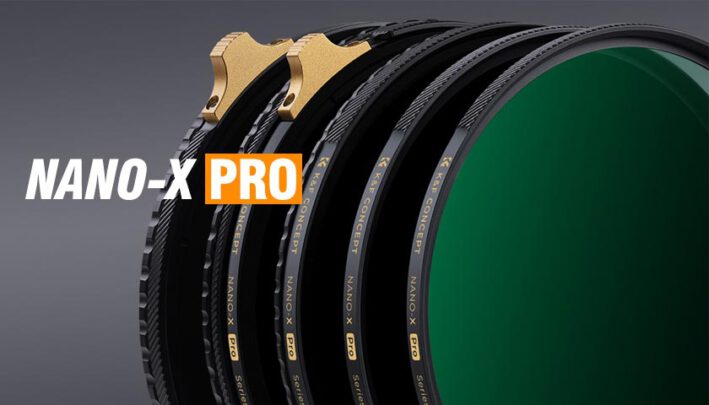
There are many types of ND filters. There are the versions that are flat rectangular pieces of plastic that slide into place in a holder that screws to the front of your lens via an adaptor ring. There are also the circular screw-on types of various sizes for different lenses, which you can fit directly to the front of your lens as if it were a standard UV filter.
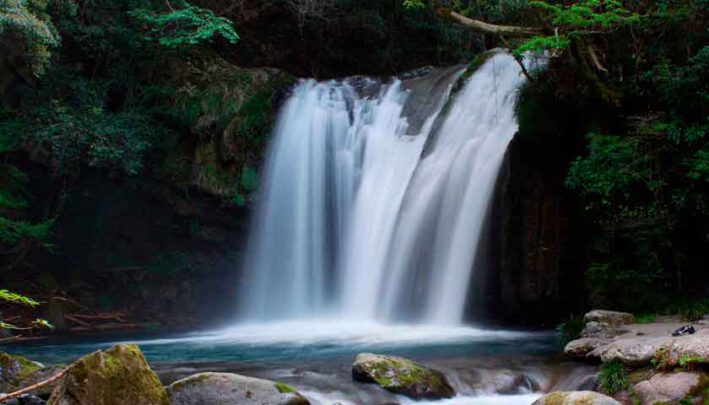
Crucially, they also come in a range of optical densities. A filter rated as an ND2 will only let 50 % of available light through (equivalent to a 1-stop reduction), where as an ND4 will only let in 25 % (2-stops reduction), an ND8 lets in 12.5 % (3-stops reduction), ND16 blocks 6.25 % (4-stops reduction) and so on. For long exposures in daylight, you need to be working around the ND1024 area, which is a 10-stop reduction allowing only 0.098 % of available light to enter the camera and hit the sensor.
As you would imagine, prices for these filters vary too. A 10-stop filter by Lee, for example, is in the range of 100,00 € / 120,00 $ but you will also need to purchase the filter holder kit that it needs as well for about 75,00 € / 95,00 $. The single screw-in type filter, depending on the lens size that it has to fit, can be anything up to 120,00 € / 145,00 $. These filters can be a bit pricey but they are worth their weight in gold.
Long exposure photography
So, you screw on your filter and point your camera at the scene you want to capture and off you go. Well, not exactly. For starters, if you look through your viewfinder, you‘re not going to see much. The 10-stop filter has taken care of that. You will pretty much be staring at a black image.
Metering a scene with such a dense filter as this can cause problems too. Your camera is probably going to struggle to find a usable meter reading. If you stop your lens aperture down to f/11 or even f/22, you will have an exposure that is the in Bulb long exposure range anyway. The best method is to take off the filter for a moment.
Start by composing the scene how you want it, with the ISO and aperture settings dialled in as required for the final shot, and just see what shutter speed you get. Take some test shots to make sure you‘re happy with the composition. At this point you need to make a note of the shutter speed you‘re getting without the 10-stop filter on your lens.

OK, there is some maths involved but it‘s not too scary. Before you added the 10-stop filter, your camera was telling you that for a setting of ISO 50 with an aperture of f/22 your normal meter reading required a shutter speed of 1/15 second. You now have to slow your shutter speed down by 10 stops.
In this case if you double the shutter duration 10 times you will arrive at the final shutter speed that you need to use with the filter in place. Note, we are using shutter speed values which get rounded up and down in places for easier numeric values to remember.
So, for our example, a scene that originally metered for a shutter speed of 1/15 second has to be altered to 60 seconds. The shot should now be correctly exposed allowing for the filter being used.
Colour shift
One thing to be aware of when using such dense filters is the issue of colour cast. Even the most optically perfect and neutral filter can suffer from some form of colour shift when using 6-stop filters or higher. The most common issue is a magenta cast caused by infrared light still getting through, even though the visible light spectrum has been reduced. For the best result, always shoot in Raw mode at your camera‘s lowest possible ISO setting.
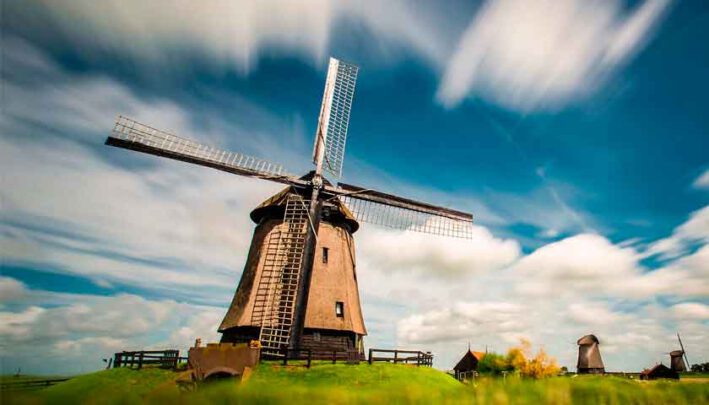
As ever, experimentation is the key. Just keep your eyes open for some familiar daytime moving object that could look pretty surreal if captured with a long shutter speed. The long exposure technique has even been employed to magically empty city streets of people and cars by using very strong ND filters. It‘s up to you and your imagination now that you know daylight can be modified to give you more creative control.

[…] 8-What is long exposure photography? […]