Hits: 2
The importance of Aperture: We explain how changing the aperture can make a dramatic difference to your wildlife shots
One of the greatest mistakes a wildlife photographer – amateur or professional – can make is to disregard the wealth of benefits that can be found by shooting at a wide variety of aperture settings. So often it seems that the pursuit of bokeh or diffuse surroundings, consumes the imagination, limiting the myriad ways in which individual encounters can be viewed, and, as a result, the diversity of images that can potentially be produced.
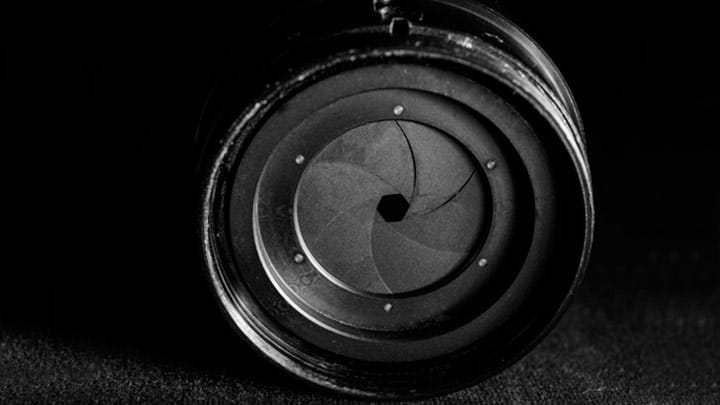
The aperture is created by a set of sliding blades in a lens, which control the size of the hole through which light can pass to the sensor. Controlling the size of the hole in your lens might be crucial to making a good exposure, but it also allows you to get creative with sharpness and blur. Large apertures such as f/2.8 cause more of a scene from to be blurred, whereas choosing a higher f-number brings more of a scene into sharp focus.
We will show you just what can be achieved by stepping back for a moment and giving every individual opportunity more consideration when it comes to your aperture choice. After a refresher in the basics of what aperture is and how it can be used, we’ll look which situations lend themselves to different apertures, from f/2.8 all the way up to f/32. First, you’ll learn how to shoot dramatic, expansive habitat shots – images that almost look more like paintings, with front to back sharpness and filled with detail and narrative, and then you’ll discover how to produce detailed and intimate close-ups that are ethical but texturally rich.
Aperture is one of the single most important camera settings that you have in terms of crafting images – let’s explore together what can be achieved.
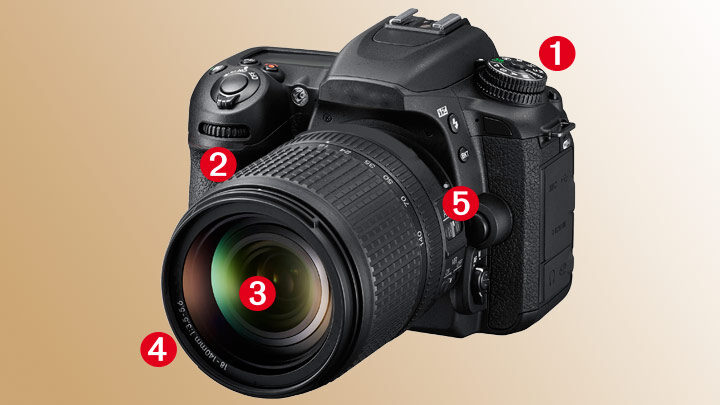
1- SHOOTING MODE: To input an aperture setting directly you need to be shooting in Aperture Priority or Manual – look for Av/A or M on the mode dial.
2 – TAKING CONTROL: To change the aperture, rotate the control dial on the camera and look for the different f-numbers in the viewfinder or on the rear screen.
3 – MAXIMUM APERTURE: Lenses can be identified by the largest aperture setting they offer. Larger apertures let in more light, so a 300 mm f/2.8 lens will record more light than a 300 mm f/4 lens when used at its maximum aperture.
4 – EXPOSURE: The size of the aperture determines the intensity of the light that makes it through the lens to the camera sensor.
5 – APERTURE RANGE: It’s the lens rather than the camera that determines the aperture range available – you can’t set f/2.8 on a 300 mm f/4 lens for example. Zoom lenses sometimes have a ‘floating’ aperture, which gets smaller as the lens is zoomed closer.
Role of aperture in making images
Changing the aperture of your lens is one of the fundamentals of photography, allowing you to alter both the exposure of a picture and how much of it appears sharply focused. The aperture itself requires little explanation: it’s a physical hole in the lens that light passes through to reach your camera’s imaging sensor. In most lenses, this hole is formed by overlapping blades that create a diaphragm, the size of which regulates how much light is let into the camera.
Large apertures let more light into the camera, while small apertures reduce the amount of light: that bit is easy to understand. What can be more confusing is the set of numbers that represent the size of the aperture. The first thing to understand is that f-numbers aren’t a physical measurement of the diameter of the aperture; rather, they represent the ratio between the apertue diameter and the focal length of the lens. An aperture of f/4 actually means the focal length (f) divided by four, and an aperture of f/16 means the focal length divided by 16. Using this rule, you know that when a 400 mm lens is set to f/8, for example, the diameter of the aperture is 50 mm.
Aperture and lens choice
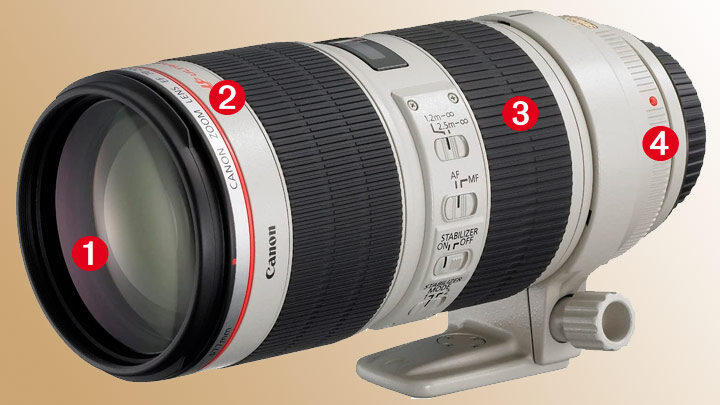
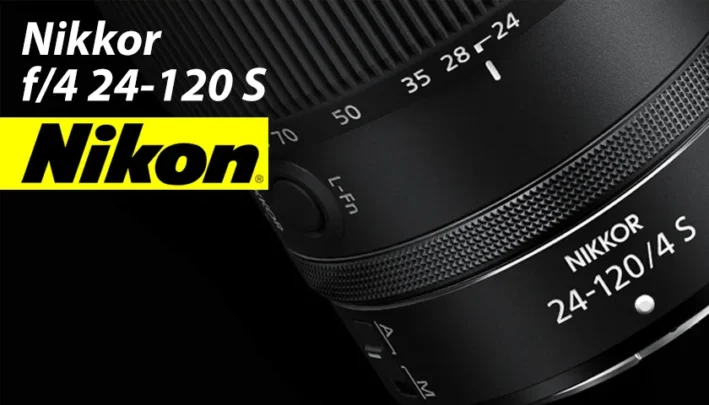
1 – MAXIMUM APERTURE: You’ll find the maximum (largest) aperture offered by a lens listed on its barrel or on the front face. Substitute ‘f/’ for the ‘1:’ – so in this example, 1:2.8 means f/2.8.
2- ‘FAST’ GLASS: Lenses with large maximum apertures are known as ‘fast’ lenses, as they enable fast shutter speeds to be used – but they cost more.
3 – FIXED APERTURE: High-end zoom lenses have fixed or ‘constant’ maximum apertures, so the aperture won’t shift as the focal length changes.
4 – APERTURE PRIORITY MODE: For direct control of the aperture, shoot in Aperture Priority: you can then select the aperture, and the camera will adjust the shutter speed for a balanced exposure. To control both aperture and shutter speed, use Manual mode.
Not all apertures are available on all lenses, and you’ll have to pay more for ‘fast’ glass. Despite the majority of lenses offering a range of apertures, they’re usually described by their maximum or largest available aperture, such as 85 mm f/1.8 or 85 mm f/1.4. Many zoom lenses have what’s known as a ‘floating’ aperture, where the maximum aperture changes as the lens is zoomed. For instance, an 18-55 mm f/3.5-5.6 lens has a maximum aperture of f/3.5 at the wide end, but this narrows to f/5.6 when the lens is zoomed to the telephoto setting.
You need to keep an eye on your shutter speed if you’re shooting in Aperture Priority mode, as it will become slower in order to maintain the same exposure as the aperture gets smaller, which can lead to blurred pictures. Be prepared to increase the ISO to compensate for this, or use Auto ISO and let the camera handle it for you.
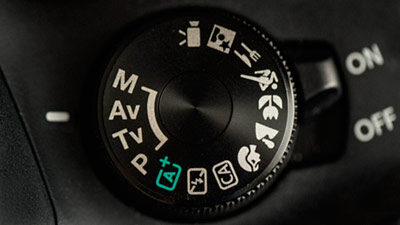
APERTURE PRIORITY MODE: For direct control of the aperture, shoot in Aperture Priority: you can then select the aperture, and the camera will adjust the shutter speed for a balanced exposure. To control both aperture and shutter speed, use Manual mode.
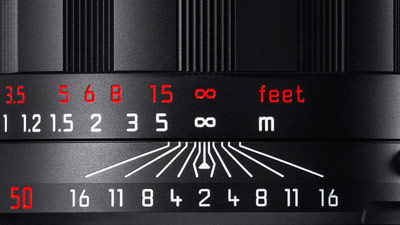
F- NUMBERS: Rotate the camera’s main dial or use its touchscreen (where available) to change the size of the aperture. You’ll be able to freely select f-numbers from the range offered by the lens – the display will change as you do so.
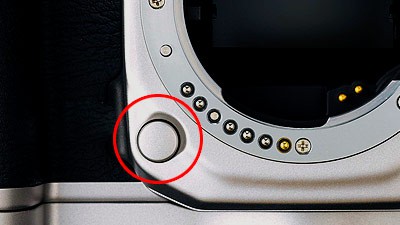
DEPTH OF FIELD PREVIEW: If you use a DSLR you won’t be able to see the effect of the changing aperture through the optical viewfinder. To see this, you’ll need to activate Depth of Field preview, usually a button near the lens mount.
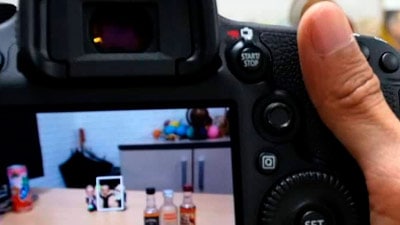
LIVE VIEW: The image will be shown at the selected aperture, but it can be dark – unlike the image in the electronic viewfinder of a mirrorless camera, which stays bright. So try using Depth of Field in combination with Live View.


[…] you’re just focusing on a tiny detail, such as a baby’s foot, you will probably only need an aperture of around f2 – f2.8. I would use an aperture of around f4 for the whole baby and between f5.6 and […]