Visits: 54
Some top tips for shooting outdoor macros
First things first. What is macro photography? If you‘ve never encountered it before, macro photography is the capture of tiny objects and organisms on your camera sensor at life-size or greater using a specialist lens or other equipment. In the case of shooting with a full frame DSLR, a macro image of 1:1 means that if you had an old 35 mm negative measuring 36 x 24 mm, at its closest focusing distance, you would be able to fill your camera‘s viewfinder with that negative and photograph it.
For a DSLR owner, the most obvious route into macro photography is to buy a macro lens. If budget is no consideration, then full-frame macro lenses with image stabilisation are a great choice. There are more pocket friendly lenses for 100 mm full frame and 60 mm crop sensor models. Macro lenses offer the best optical quality, but if you are on a budget, then there are alternatives that give you the chance to explore the macro world for little outlay.
Close-up filters
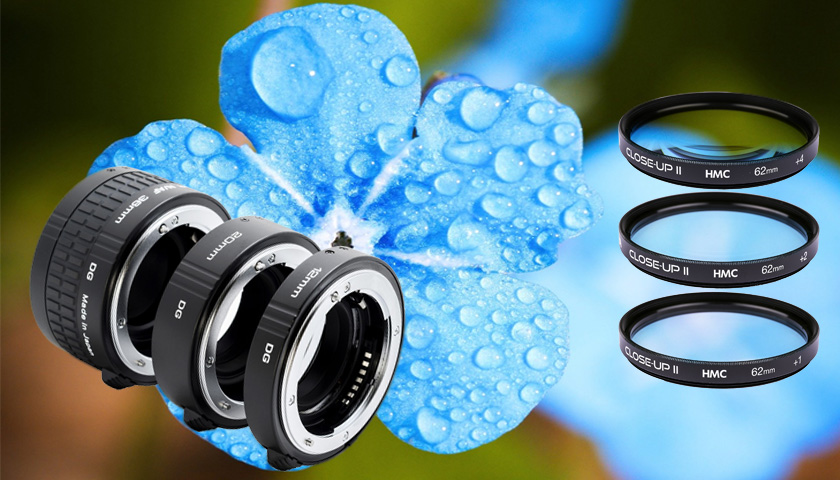
As the name suggests, close-up filters are macro filters that you can screw onto the front of your existing lenses. They come in a variety of lens thread sizes and also offer a selection of magnifications. A basic four piece filter set can let you magnify an image by a factor of +1, +2, +4 and +10. Optically, they are not perfect and you will experience a bit of distortion and chromatic aberration where the lens is unable to correctly focus all the colours at the same convergence point. That said, for around $20, it‘s an inexpensive method of trying it out.
Extension tubes
Another option before taking the plunge and spending out on a macro lens, is to get a set of macro extension tubes. A macro extension tube contains no glass elements and you attach it between your lens and your camera body. This tube mounts the lens further away from the camera sensor. In practical terms, this results in the minimum focusing distance getting smaller, the further the lens moves away from the sensor.
Therefore, you can get much closer to your subject and still be able to attain good focus. One thing to note is that these macro extension tubes are more effective with lenses with shorter focal lengths around the 24 mm – 50 mm area than either very long focal lengths over 200 mm or very short focal lengths of 16 mm or so. The extension tubes also come in various widths from about 12 mm to 36 mm.
Macro lenses
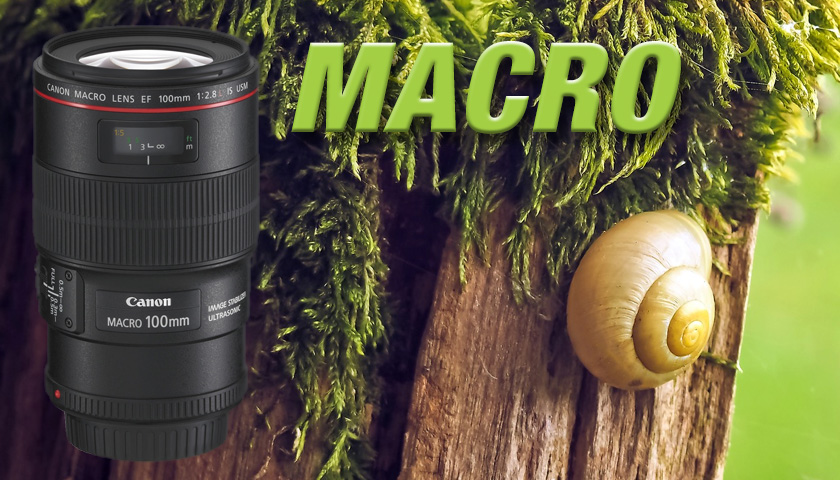
All the major DSLR manufacturers produce various macro lenses to suit your pocket. They range from 40 mm up to 200 mm versions with the closest focusing distance ranging from 5-6 inches out to about 16 inches. The measure of a ‚true‘ macro lens is its ability to resolve an image on the sensor of your camera that is at least life-size: or a reproduction ratio of 1:1 as we mentioned earlier.
Prices will vary of course. Lenses such as the 40 mm Nikon AF-S DX f/2.8G retails at about $200-250 and the 200 mm AF Nikkor f/4D IF-ED at a less wallet-friendly $1,300. Canon‘s 50 mm offering, the EF f/2.5 runs at about $290-300 while their 100 mm image stabilised f/2.8 macro lens will set you back $900. Sigma and Tamron also manufacture lenses that range from 50 mm to 105 mm costing from $225 to upwards of $750.
The major difference between a 50 mm macro and a 200 mm (apart from the price) is a greater subject-to-lens distance on the longer focal length lenses. So, your expensive 200 mm macro lens lets you keep further away from that pesky butterfly you‘re trying to photograph without spooking it.
Macro photography tips
So. you have got one of the options we‘ve outlined to get your started in this fascinating area of photography. Now it‘s time to get out there and take some shots. We‘ve compiled a short list to help get you started on your journey into the ‚near space‘ of macro world.
Manual focus
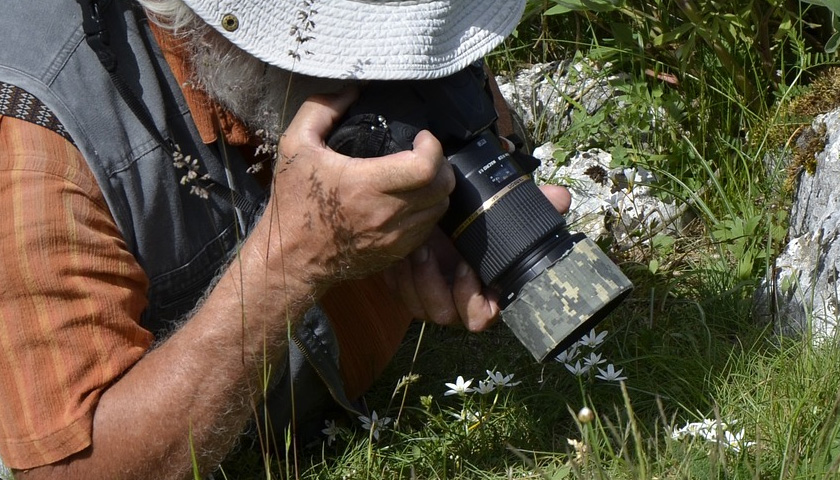
If you are trying to capture something that won‘t stay still such as an insect or even just a flower swaying in a breeze, try to get used to turning your camera‘s autofocus off and putting it into manual focus instead. If you use your camera‘s AF mode, it may spend most of its time ‚hunting‘ for focus and you may miss a shot. In manual focus, you can more quickly adapt to the movement of your subject. You can even just rock your body back and forth fractionally, moving the camera slightly to also attain better focus.
Flash
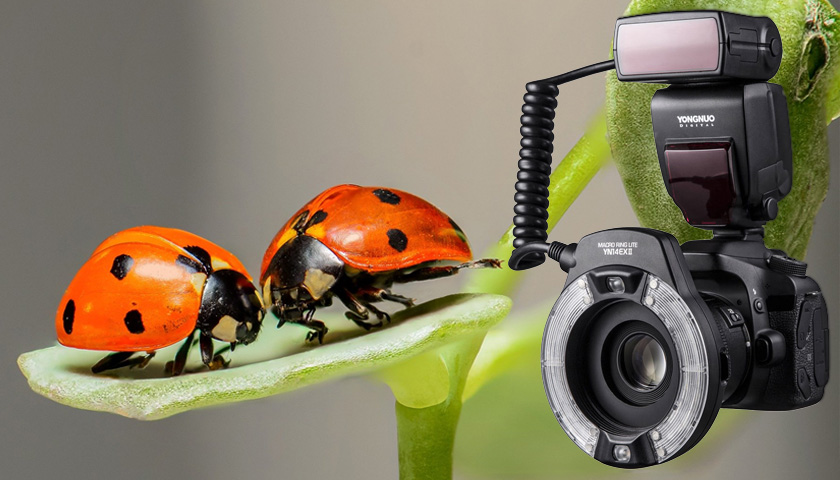
Since you are shooting at very close range to your subject, you may find that a normal on-camera flash may not be able to light your subject. at least not without casting a shadow from the tip of your own lens. Try getting the flash off camera with a hot shoe extension, or get a macro flash kit that attaches to the front of your lens. They are more expensive but they are designed to light macro subjects that are right in front of your camera. Alternatively, you can get an LED ring light version.
See it first
It might sound odd but if you are out and about with the intent of doing some macro photography, you may not be quite in the macro mindset and you could possibly miss things. Before you start shooting, take the time to look around, get in close and examine objects and assess their worth as macro subjects before taking a single shot. Pick a small area, say the size of a badminton court and spend time looking at all the possible close-up opportunities just in that area. Train your eye to see in macro terms.
Speed is good
Shooting outdoors means you are prone to breezes moving your subjects around if they are plants and flowers or they are insects that are on the move or even flying around in front of you. Bear in mind that a fast shutter speed of 1/640 or faster is more important than a low ISO setting. It‘s better to have a sharp, slightly grainy image, than a noise-free blurry image of a butterfly taking off from a flower. Most modern cameras can produce quite clean images at up to 800 ISO, so you should be able to get those fast shutter speeds.
Aperture
If you are using a macro lens with a maximum aperture of f/2.8, it doesn‘t necessarily follow that you always have to use f/2.8 all the time. On a 100 mm macro lens shooting at f/2.8, the area of sharp focus is absolutely wafer thin and you could actually struggle to get the pertinent part of your subject in focus. The slightest movement from your subject, or yourself, can throw the shot completely out of focus. Try shooting with an aperture of f/8 or f/11 to give yourself a better chance of attaining good focus.
Set up
Don‘t be afraid to actually set up your macro images to get the best shot. Even if it means arranging a few flowers and rocks in your back garden so you can control the lighting and keep them out of an annoying breeze. A lot of macro photographers will set their shots up. It can be as simple as holding a twig or leaf in front of your lens to create a soft blurred foreground for the main subject that is slightly further away. If you wanted dew on flowers and there is none, bring a spray bottle and make your own.
Tripod
Generally, if you are trying to keep mobile when photographing macro subjects outdoors, setting up and arranging a tripod can be troublesome and time consuming. There will be times however that your shutter speeds are going to be quite slow and that will demand the use of a tripod rather than trying to shoot hand held. If your shutter speeds start dipping below 1/100 and 1/60, then a tripod is going to be essential to keep your shots sharp. For lower level shooting, you could actually set your camera on a small beanbag for stability.
The right angle
If you‘re doing a lot of macro work and you want to shoot at very low levels, getting your eye to the viewfinder or even the LCD screen can be difficult without mashing your face into the ground. If your DSLR has a vari angle LCD screen, then your problem is solved. If you don‘t have a tilt-screen, you can always get a right-angle finder to attach to your camera to make the viewing of your compositions that much easier. The main manufacturers make them for their cameras and there is also a healthy third-party market for cheaper versions.
Reflectors
As for using a flash to light your subjects, you could also consider simply using a reflector. These can be a simple as a sheet of white card, held at such an angle as to reflect light back onto your subject to provide additional illumination. Some macro photographers actually bring small shaving mirrors and use them to bounce sunlight into the scene they are shooting. For subjects that are brightly backlit, you can actually get a collapsible silver macro reflector that you can mount on the end of your lens.
Crop factor
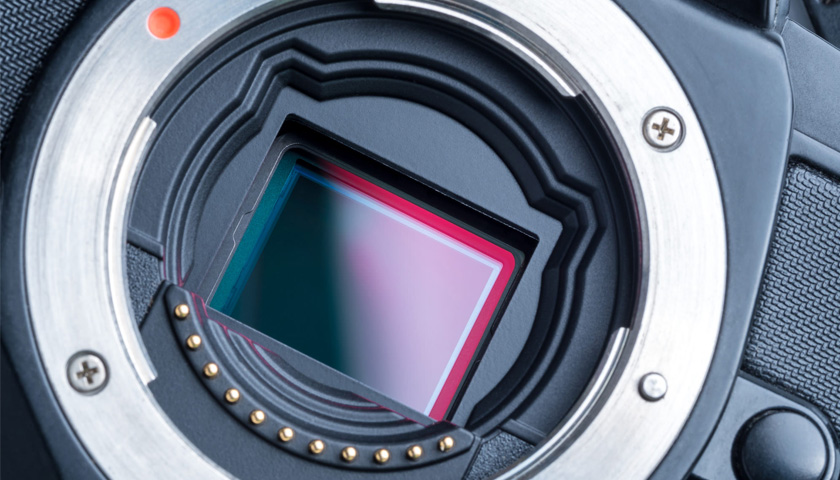
Something to consider when buying a macro lens is the crop factor of your camera. With Canon DSLRs for instance, their range of APS-C crop sensor cameras, with sensors that are 1.6x smaller than full frame sensors, require the use of EF-S lenses. However, their full frame EF lenses work on their crop APS-C bodies too. What this means is that an EF 100 mm f/2.8 macro lens that can shoot at a ratio of 1:1 on a full-frame camera, can actually be used on APS-C DSLR and effectively becomes a macro lens framing the shot at a ratio of 1.6:1.
Patience
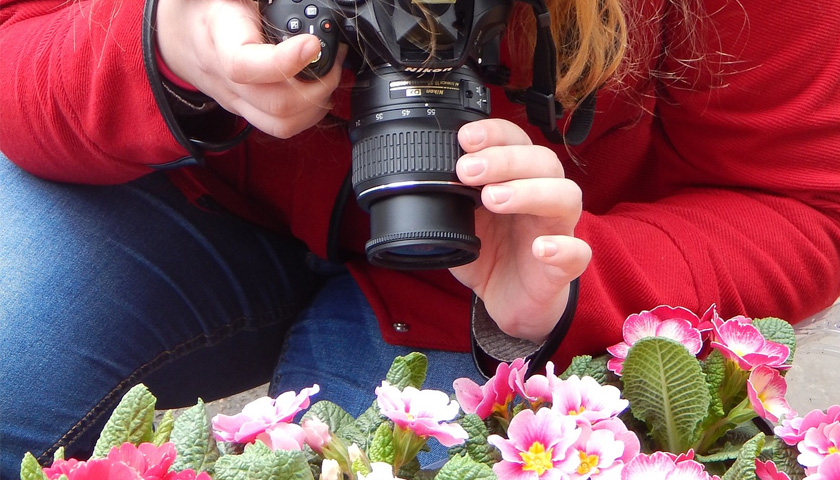
Trying to catch a good shot of an insect or a bee can be a bit of a task as they are always on the move. Rather than chasing your quarry from flower to flower, just set yourself up by one flower and wait there. Bees are hive creatures and if one bee has visited a flower, another will be along shortly. Use this to your advantage and play the waiting game. Give yourself ten minutes on a single flower and be prepared to start shooting when another bee lands.
Helping hands
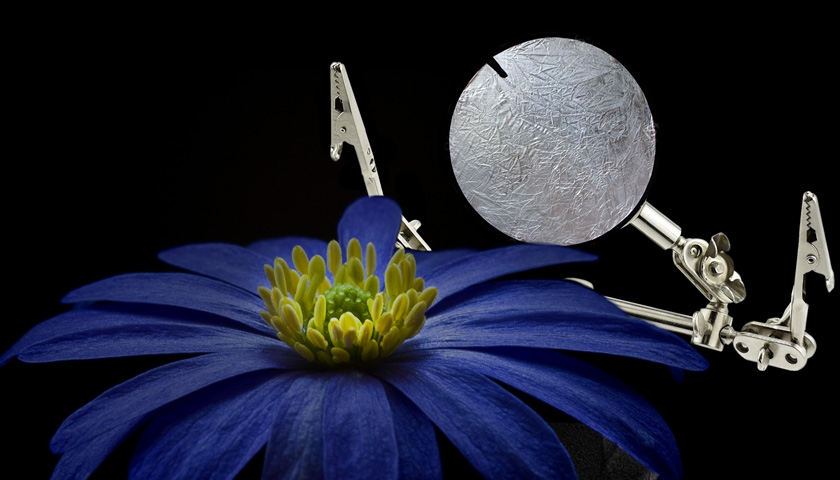
A ‚third hand‘ is a very useful little addition to your macro photography toolkit. If you‘ve ever tried soldering two wires together, you‘ll understand the frustration of trying to manipulate non-cooperative objects to stay where your want them to. A ‚third hand‘ is a small accessory with two or more clamps that can be moved and positioned to hold things in one place without you having to touch them. Great for holding that pesky flower stem just where you need it to get the best light on it and also hold it still in the breeze.

[…] Lumix S 70-300 mm F4.5-5.6 Macro O.I.S. to the macro lens with a large escape distance. In other words, it creates macro shots at […]