Hits: 47
Shoot for the moon
If you have ever tried Astro Photography using your camera’s kit lens, the results wouldn’t have exactly been awe-inspiring. Despite being our closest astronomical neighbour, the moon is still a heck of a long way away. So capturing sharp detail on the surface is asking a lot of your kit. Fully zoomed in, for example, your lens has a vertical angle-of-view of around 15°. Whereas the moon only takes up around 0.5° of your view of the night sky. So at 55 mm, the moon occupies a pathetically tiny 1/1500th of your frame area! In other words, for really crisp results with lots of detail, you need a much longer focal length.
Use the right kit
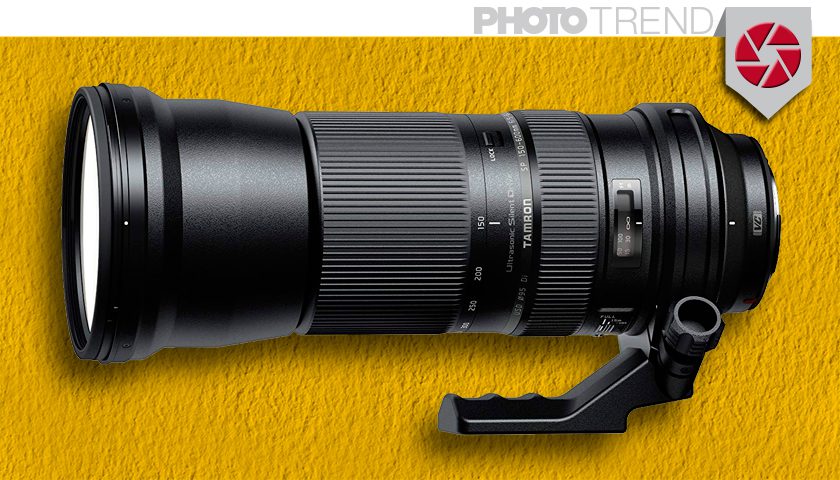
A good quality budget option for moon photography is Tamron’s 150-600 mm, which won’t break the bank at 739 Euro. Used on an APS-C body, it will effectively take you to 900 mm, and the moon will fill a much larger proportion of the frame. Alternatively, a 70-300 mm will do the job at only £100. Note that with either lens you’ll still have to crop out lots of black space around the moon. But you’ll have enough pixels to work with to maintain lots of sharp detail on the lunar surface.
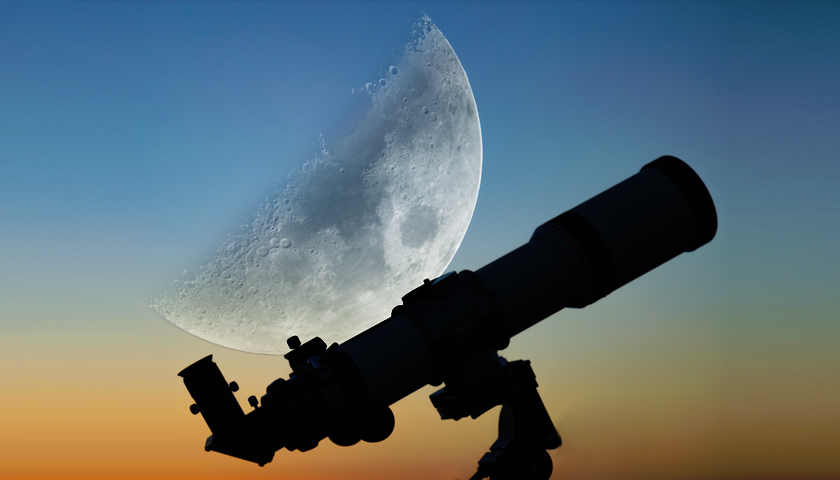
Interestingly, for the moon to fill the entire frame from top to bottom. You’d need a 1700 mm lens on an APS-C body, or 2700 mm on full-frame. For which you’d require a telescope with DSLR mount!
Know your phases
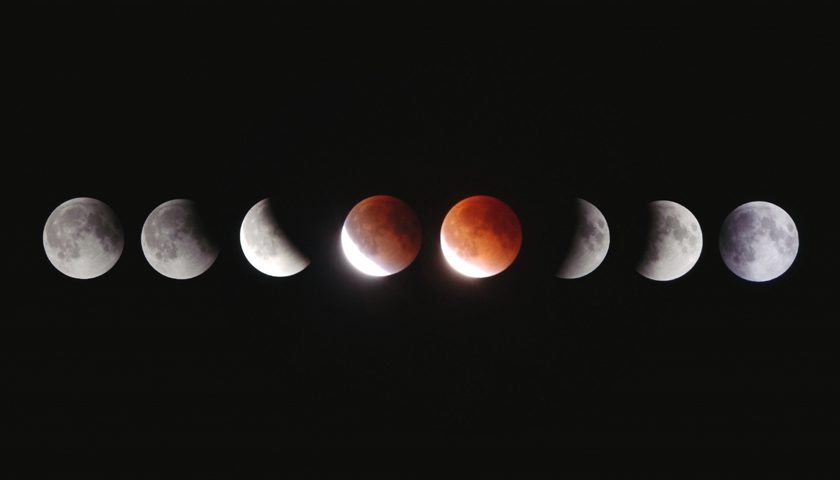
The moon rises and sets roughly an hour later every day. So unlike the sun it’s hard to remember when it’s going to be visible in the sky. The easiest way is to check out a lunar calendar online. You’ll also have to think about moon phases. Which tell you how much of the moon is illuminated on a given night. Aim for a part-lit moon, as the area where the light and shadow meet, known as the ‘terminator’, is where the best crater detail is seen. Full moon shots can also work, but obviously don’t head out during a new moon or you’ll come home empty-handed!
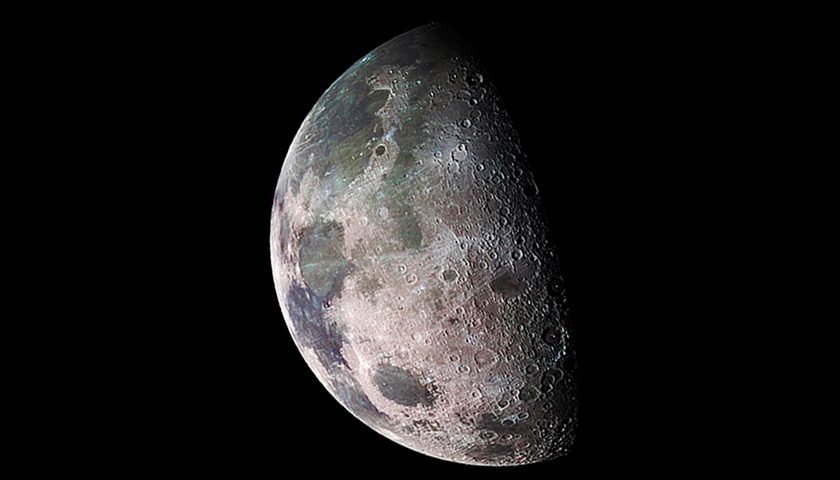
Working on a clear night put your camera into manual mode, and set your aperture to around f/6.3 for Astro Photography. Choose an ISO of800, and a shutter speed ofl/250sec. Adjust shutter speed to tweak exposure if required. For sharp results, work from a tripod, and use either 10sec self-timer mode or a wireless remote to trigger the shutter button. Turn off image stabilisation and shoot in RAW. You can focus using AF, but focusing manually using Live View, as explained in Project One, will give the sharpest results.

