Hits: 5
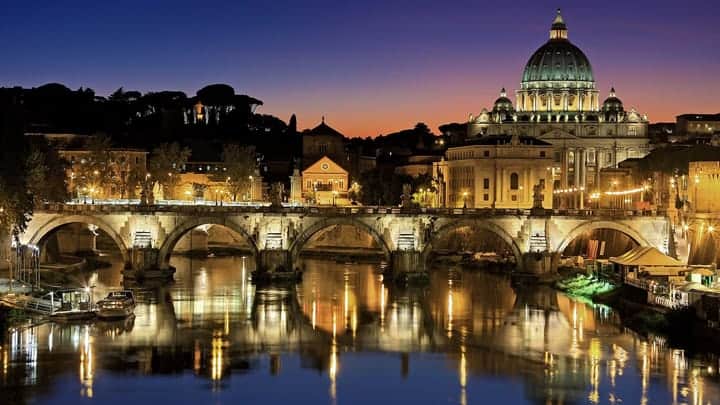
Night photographs: Whether it‘s the lure of bright city lights, barren moorland bathed in moonlight or a tumbledown barn in the country under a starry sky, night photographs is a big draw for many photographers. It can be challenging, it can be very frustrating and time consuming, but once you get the bug for it and get those first few ‚wow!‘ images under your belt, it‘s a hard habit to break. There are a lot of photographers who find the whole process very relaxing.
As you are normally dealing with much longer exposures than usual and having to carefully com1pose and focus your shots, it forces you to slow it all down and take a much more considered approach. After all, if you set up a ten-minute exposure and the end result is disappointing, you could angrily pack up your gear, set off home, and miss out on a very rewarding aspect of photography. To make sure you get the most out of your photos, here are a few tips that should see you well on your way to capturing amazing night photographs.
1. Use a tripod
This may sound a bit obvious, but if you want to take night photographs where exposure times can sometimes be in the tens of minutes, you‘re going to need something sturdy to put your camera on. You can of course set your camera to its highest ISO setting, open the aperture as wide as it will go and shoot hand held, but to really do the image justice you‘re going to need a solid tripod. One thing is worth mentioning; pay particular attention to the surface on which you‘re setting your tripod. shooting at the water‘s edge on a beach is a good example.
The tripod may be pushed firmly into the sand and your long exposure is under way. One larger-than-usual wave and the feet of your tripod are swamped. Not a big deal, but the water can soak into the sand, which becomes soft, and the tripod can start to list over to one side ruining the shot. An attempt higher up the shoreline away from the waves might be in order.
2. Keep the ISO low
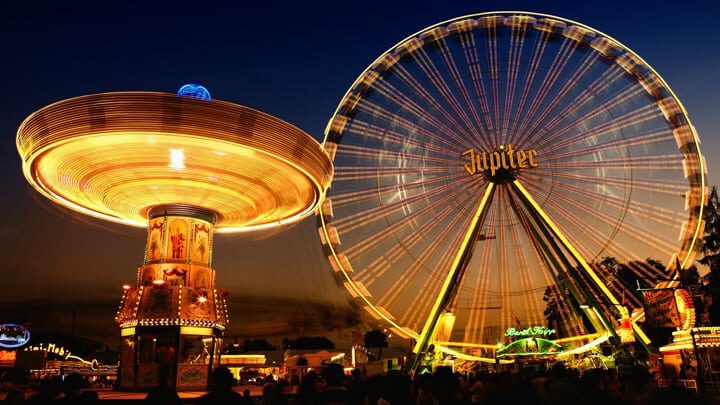
Because you have your tripod keeping things steady for the camera, you can use the lowest ISO setting your camera will allow. This is a big advantage from the point of view of image quality. High ISO settings create a lot of image noise, and can affect the sharpness of the shot, detracting from the overall quality of the image. Many modern cameras can produce fairly clean shots at high ISO, and it may well be that you can work in the 800-1000 ISO range if the situation demands it, but generally the lower the ISO setting, the better the result will be.
A lot of cameras also offer Long Exposure Noise Reduction (LENR). This works by taking a second exposure of just the sensor noise which is then used to subtract the noise from your original shot. What this means is that if you take a five-minute exposure, it will then take another five-minute LENR exposure. For any exposure longer than a couple of minutes, the sensor may start to heat up and this introduces noise artefacts. This is what LENR is trying to remove. It‘s just a personal preference but many don‘t use LENR.
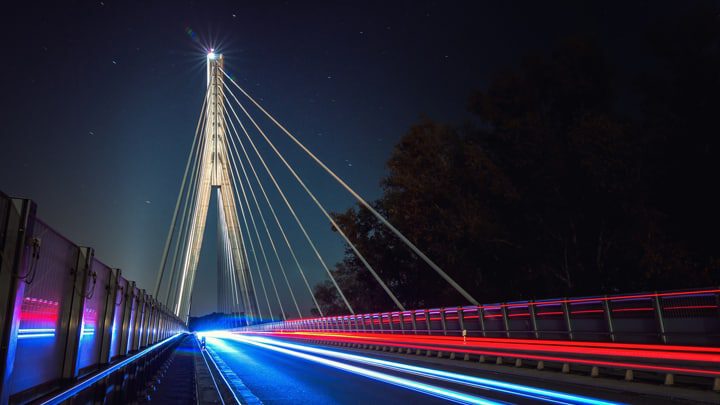
Like a lot of recent DSLRs most cameras use a CMOS sensor which isn‘t as prone to overheating, and you could take ten-minute exposures without any noise issues. If you want to try very long night-time images like star trails, consider taking multiple exposures of 30 seconds each and stacking them in Photoshop. For example, 30 exposures of 30 seconds each is equivalent to one 15 minute exposure.
3. RAW shooting and night photographs
Shooting in raw mode is a method that allows you to extract the absolute last pixel of quality from your image and process it any number of creative ways non-destructively. You can happily alter white balance settings, cross process, split raw and any number of effects without losing your original image. Like using low ISO, it‘s another way of keeping the image quality as high as possible.
4. Zoom or prime lens?
When you‘re shooting at night there are any number of light sources, such as street lights, headlights, the moon, bright windows, neon signs, all of which are ca1pable of introducing unwanted lens-flare that can ruin an otherwise excellent shot. Lens flare is caused by unwanted light scattered by the optical elements inside your lens. Zoom lenses particularly suffer from flare as they contain many more optical elements. Your best chance of reducing lens flare is to use a prime lens.
A prime is a lens that only has one set focal distance and therefore uses fewer internal optical elements. Whether you use a zoom or a prime, a lens hood is recommended for both. Also, wherever possible, use a lens with as wide a maximum aperture as possible, such as f/2.8. You may well be shooting at smaller apertures than this but the image in the viewfinder will be brighter with a faster lens, helping you to see and set up your composition.
5. Bulb mode
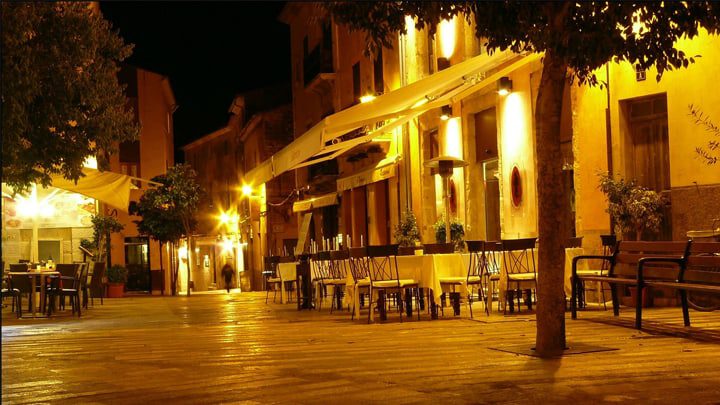
With most current DSLRs the longest shutter speed you can use in normal operation is 30 seconds. However if you switch to Bulb mode („B“) on your camera, you can keep the shutter open for much longer periods. „Bulb“ in this case is a reference to the old squeeze-bulb, pneumatically activated shutter release systems from the earliest days of photography. What you don‘t want to be doing though is standing there with your finger on the sthutter release button for five minutes. Your finger is going to ache and you are going to move the camera and spoil the shot.
Attaching a cable release instead is the answer. This means you can activate the shutter and lock it open for as long as you need. These vary from the simplest ‚press to activate‘ types to fully programmable interval timers that can take multiple shots with durations and intervals between shots set by the user.
6. Take test shots at high ISO
Since most modern cameras offer very high ISO settings, it makes sense, before committing to a long exposure or a sequence of long exposures,. to ramp up the ISO to the max, take a shot and, have a look at the composition, framing and exposure. However if you‘ve just done your test shot at 2000 ISO and it looks great, how does that translate to shooting the same scene but at a lower ISO setting to get the quality?
There is some maths involved but it‘s not complicated, especially if you have your mobile phone with you.
7. The mathematical bit
At 2000 ISO your camera meter tells you that for the aperture you have set, a shutter speed of five seconds gives you a good exposure. Now you need to know how that exposure will change when you dial your ISO down to 100. Divide your high ISO number by the target low ISO number (2000/100 = 20), take your answer (20) and multiply it by the high ISO exposure value five seconds – this gets you a final answer of 100 seconds (1 minute and 40 seconds).
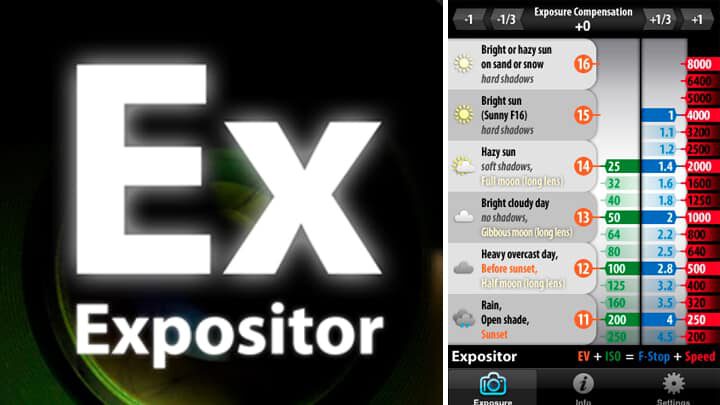
Still with us? If you prefer, there are apps for iOS and Android that can do the heavy lifting for you. A popular one called Expositor, has a nice user-interface that can quickly calculate any combination of EV, ISO, F-stop and exposure time you care to dial in. It‘s great for quickly and accurately working out the arithmetic without the need to do the sums in your head.
8. Earth, sky and wateret l’eau
Use this to your advantage. It may have been done to death, but a coastline shot taken with a long exposure reduces the sea to that wonderful misty blanket. If there are patches of clouds in the shot, they appear to streak across the sky when your exposures get up beyond 30 seconds or more. Of course, who can forget traffic trails? They are the staple of long exposure photography. The key word here is experimentation.
9. Light painting
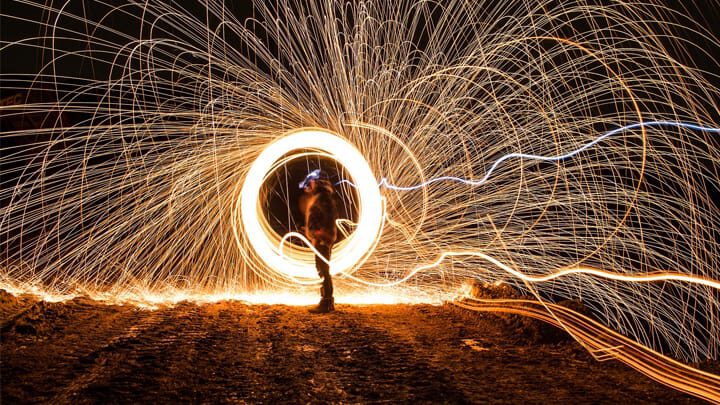
Seen in the photo above, this refers to the technique of illuminating parts of your scene with additional light sources other than those in the shot. Light painting has become very popular and ranges from simply using a flashlight to illuminate a dark foreground subject, to using all manner of light sources, such as strobes, sparklers, coloured LED lights and even steel wool set alight to create huge showers of sparks, all of which create bizarre and abstract „light art“. It‘s worth looking into if you‘re thinking of taking night photography to a whole new place.
It‘s dark out there. Go take some photographs. What are you waiting for?

